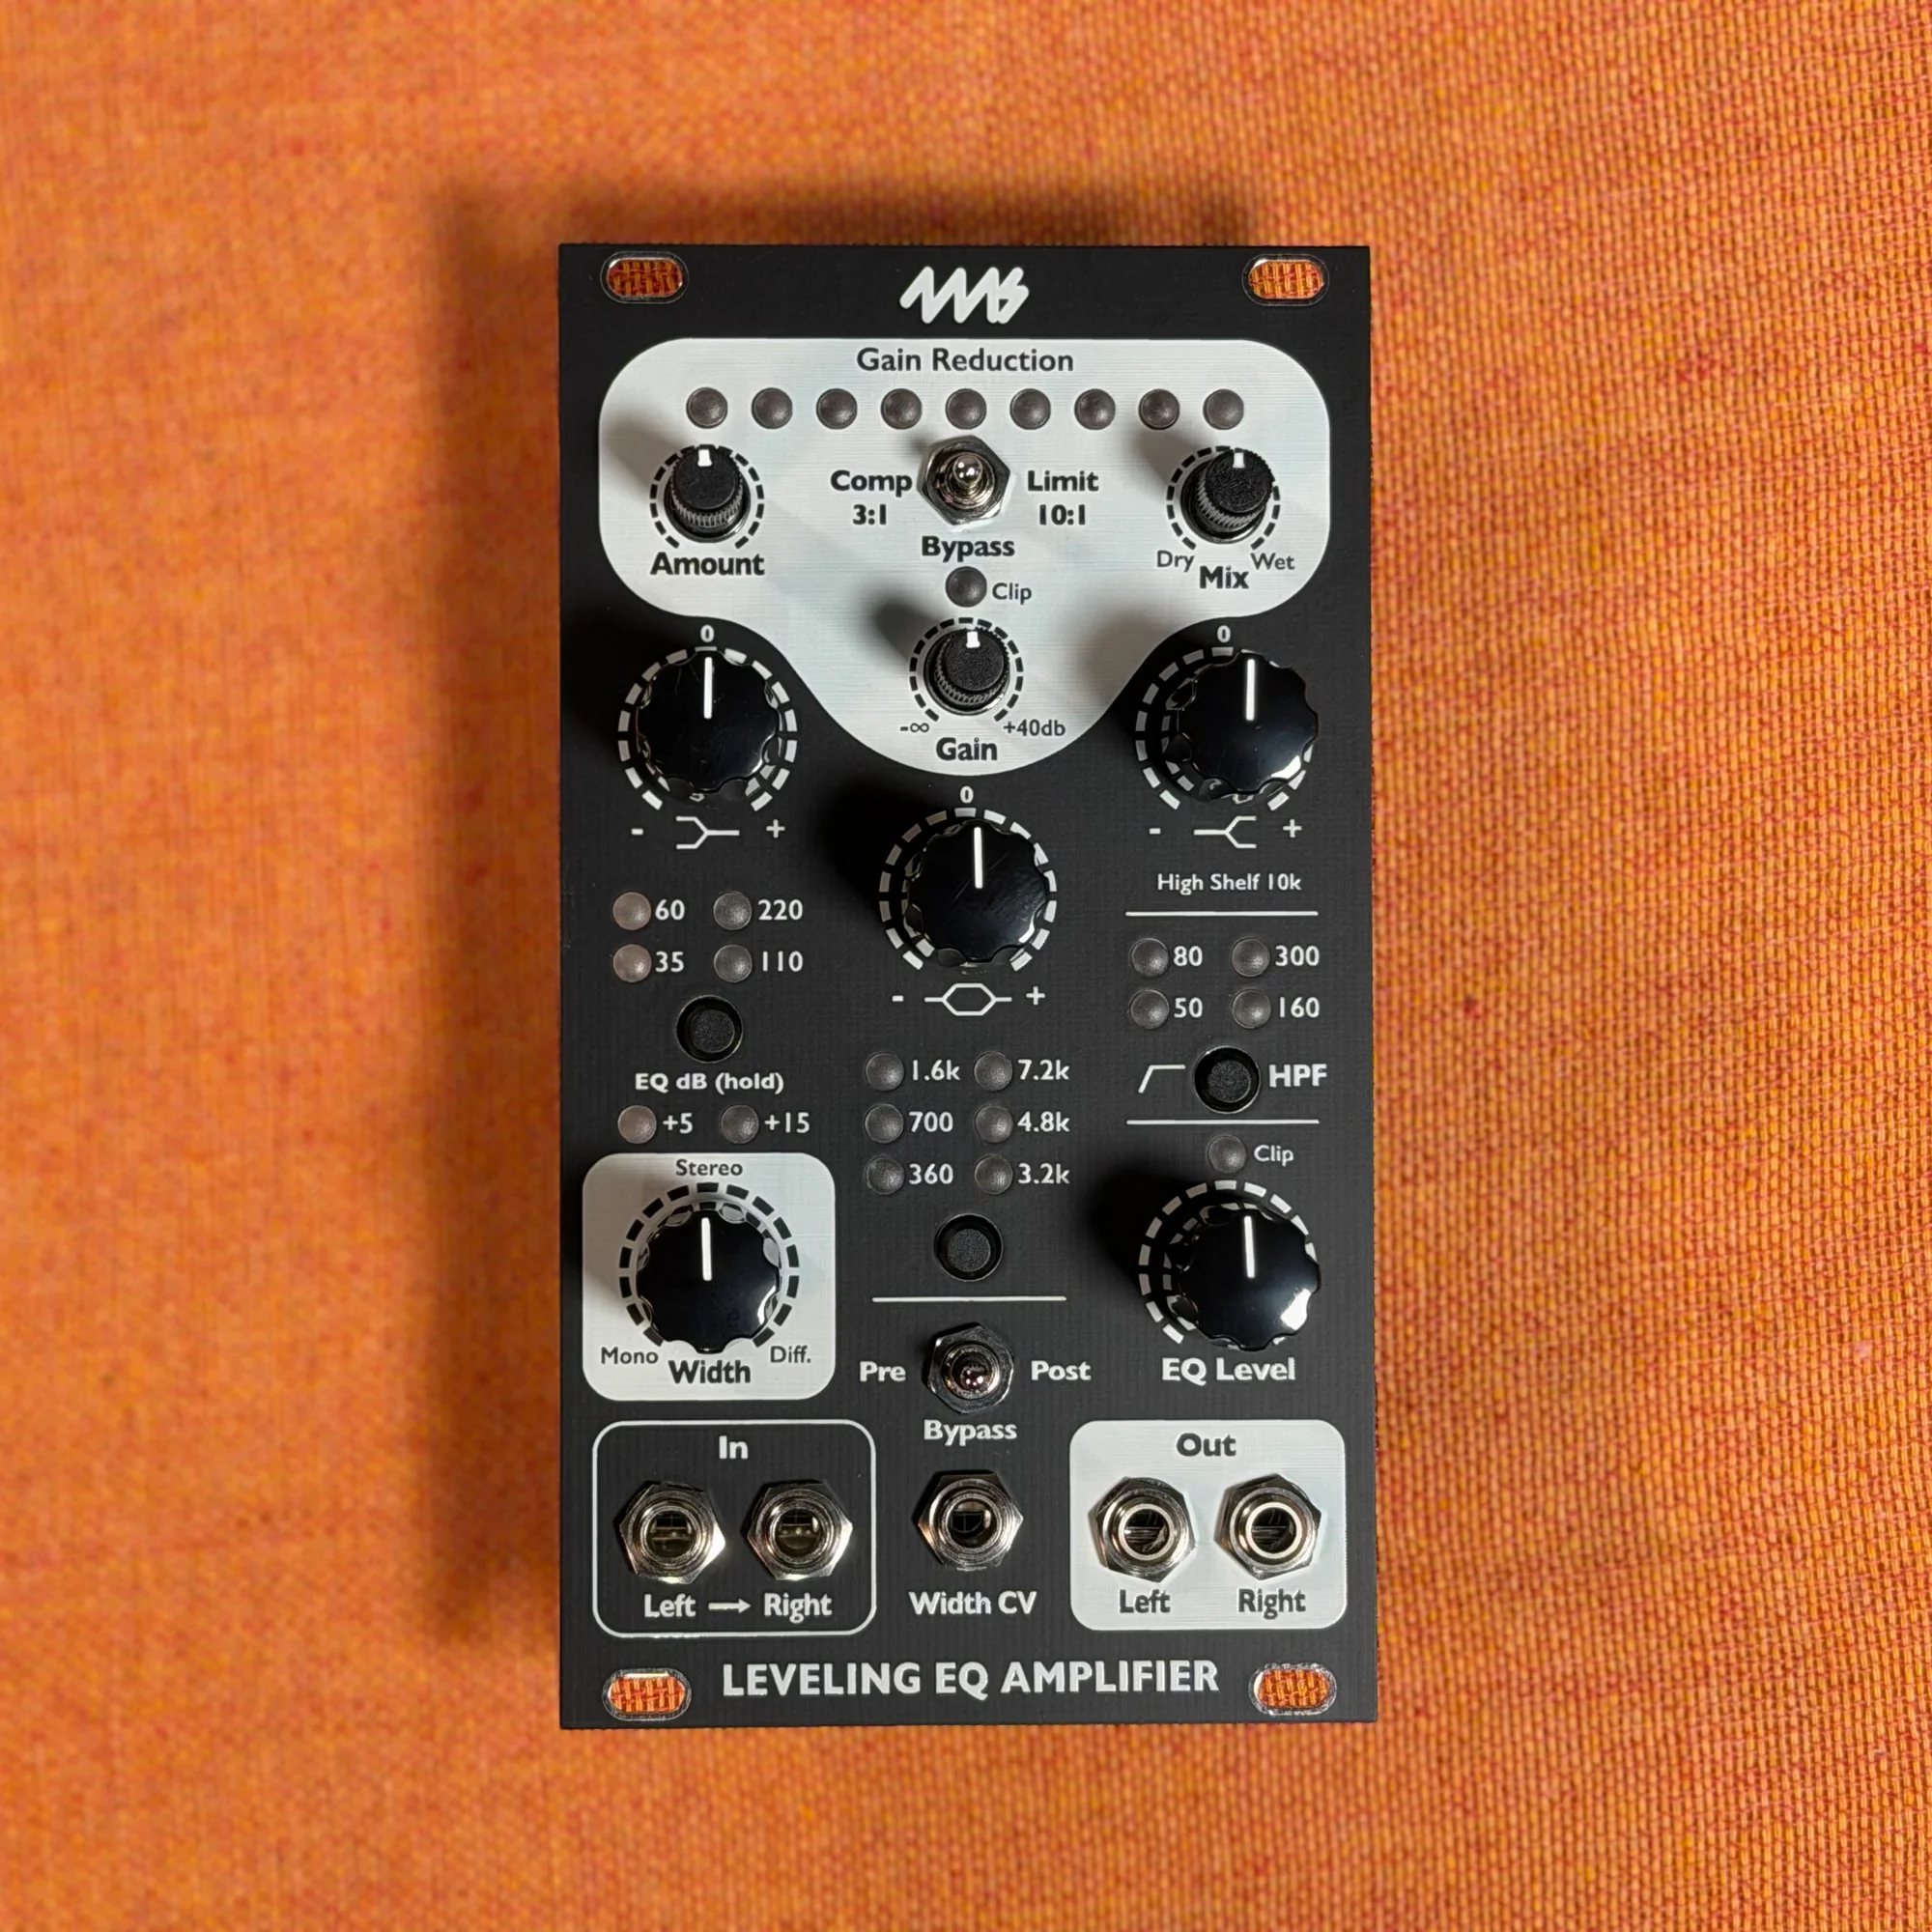
This is EP.1 of the 4ms LEQA guide series. This time, I'll follow along with the official 4ms tutorial video, "Leveling EQ Amplifier (LEQA) Tutorial," and walk through the LEQA's overall structure and what each knob and jack does.
The Leveling EQ Amplifier (LEQA) is an end-of-chain processor designed to sit at the final stage of your patch. Stereo width adjustment, tonal shaping with an EQ, and dynamics control with a compressor — all handled by a single 14HP module. The video goes through these three sections in order, explaining what every knob and jack does.
Takazudo's personal take: this module has a lot to teach you about sound processing.
Takazudo Modular publishes manuals and related documents with Japanese translations. See the links below.
- Overall Structure
- Stereo Width Processor
- EQ Section
- Compressor Section
- Routing the EQ and Compressor
- Patch Examples
Overall Structure
The LEQA consists of three sections: a stereo width processor, an equalizer, and a compressor. The stereo width processor always sits at the head of the signal chain, and the signal path after it is set with two switches.
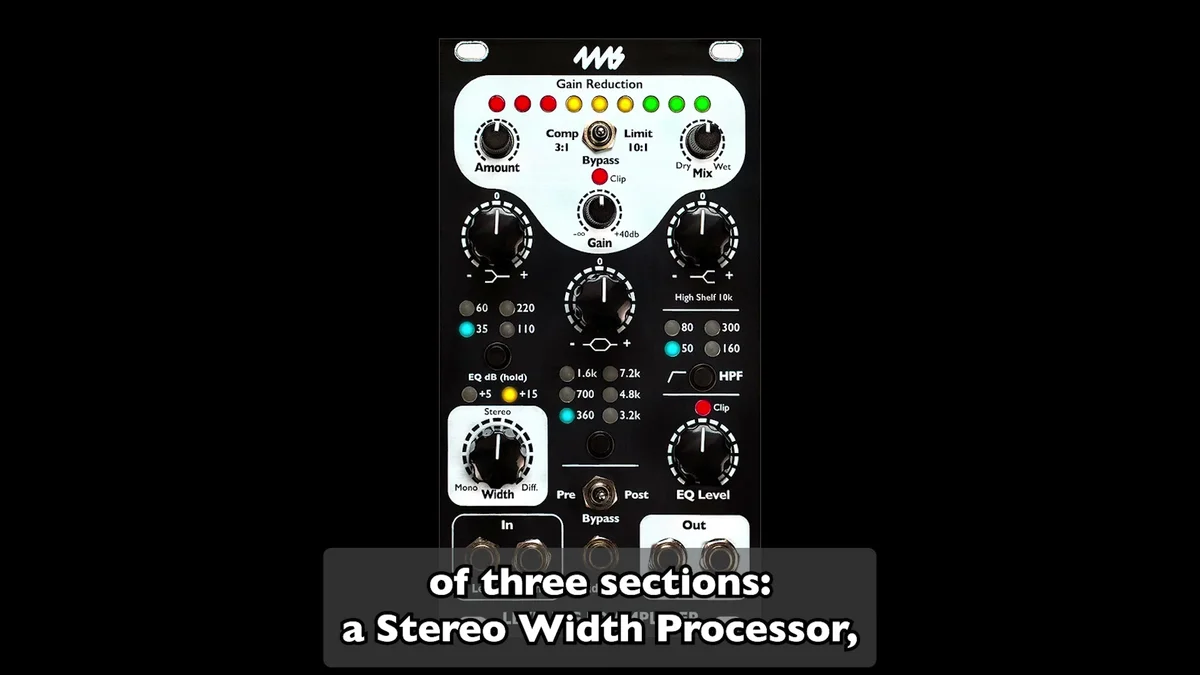
The EQ and compressor can each be bypassed independently. On top of that, the EQ section's Pre/Post/Bypass switch lets you choose whether the EQ goes before or after the compressor. How this choice plays into your sound design is covered in depth in the second half of the video.
Stereo Width Processor
Mono Mode
With only the left input patched, the stereo width processor works as a mono-to-stereo converter. What's at work here is a combination of the Haas effect (a psychoacoustic technique where a duplicated signal is delayed by a few milliseconds and panned left and right to create a perceived sense of stereo width) and Mid/Side processing (a technique that splits the left and right channels into their sum and difference for manipulation).
When the Width knob is at 0, the effect is fully bypassed. Turning it from 0 to 50% gradually fades the effect in, giving you continuous control over the transition from mono to stereo. At the 50% position, you get full stereo: the original mono signal panned hard left and the delayed copy panned hard right.
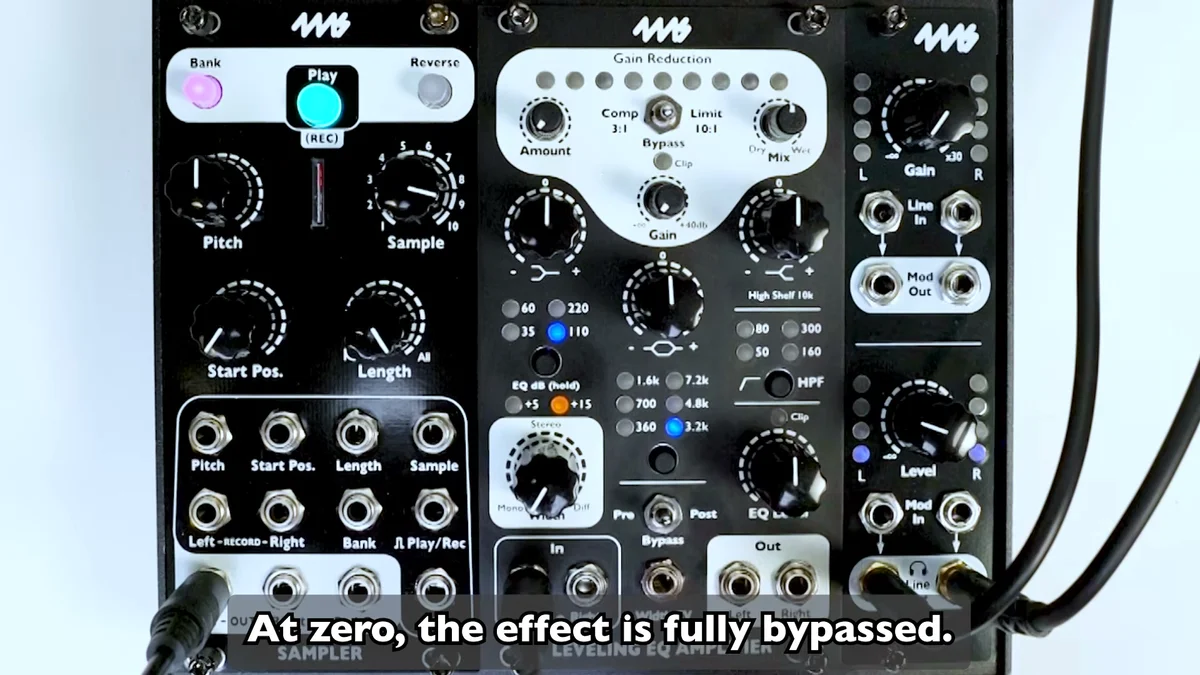
From 50% to 100%, Mid/Side processing is added to the dry/wet pair, and you enter a "super stereo" zone where the proportion of the difference signal keeps increasing.
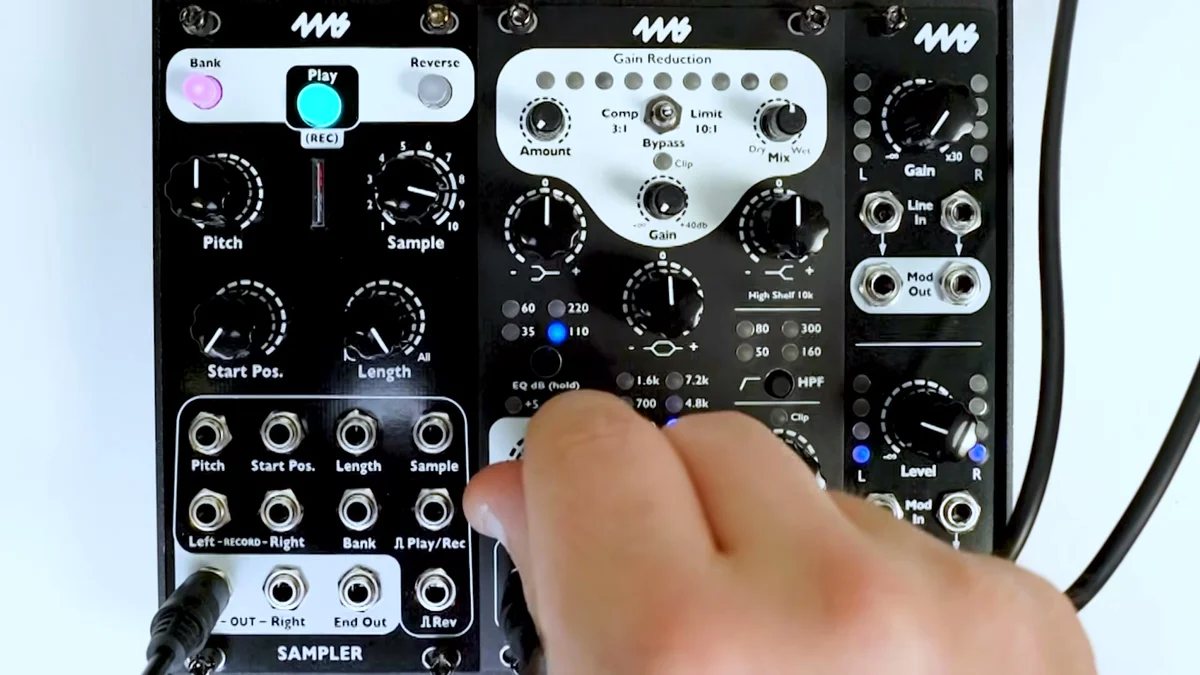
The Width CV input (0V to +5V) lets you control the stereo width externally. In the video, an LFO is patched into this jack to cyclically sweep the stereo width.
Stereo Mode
Plugging a cable into the right input automatically switches the stereo width processor into stereo mode. In stereo mode, no delay is used.
When the Width knob is at 0, the stereo signal is folded down to a complete mono mix. From 0 to 50%, the original left/right content gradually returns, reaching the original stereo image at 50%. From 50% to 100%, Mid/Side processing that subtracts the left and right channels from each other kicks in, and you enter the super stereo zone here as well.
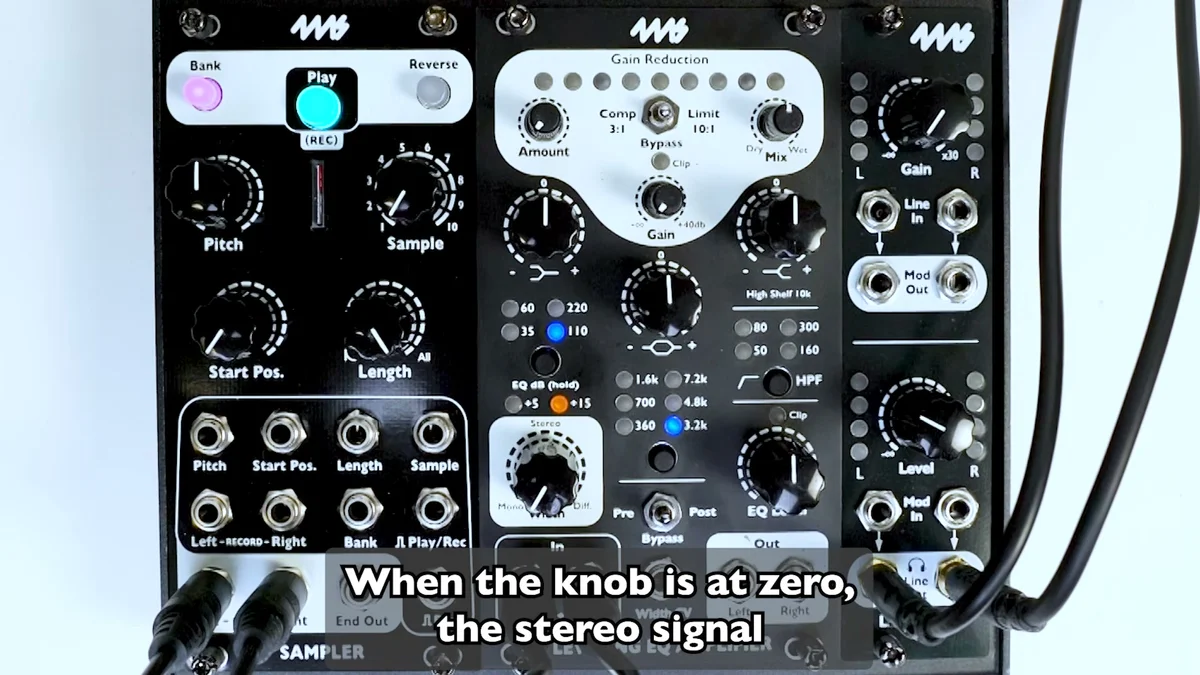
In other words, the same Width knob acts as a "depth of stereoization" control with a mono input, and a "mono fold-down through super stereo" control with a stereo input.
EQ Section
Filter Layout and Signal Order
The signal in the EQ section passes through the highpass, low shelf, midrange bell, and high shelf in that order, then finally through the EQ output attenuator (EQ Level).
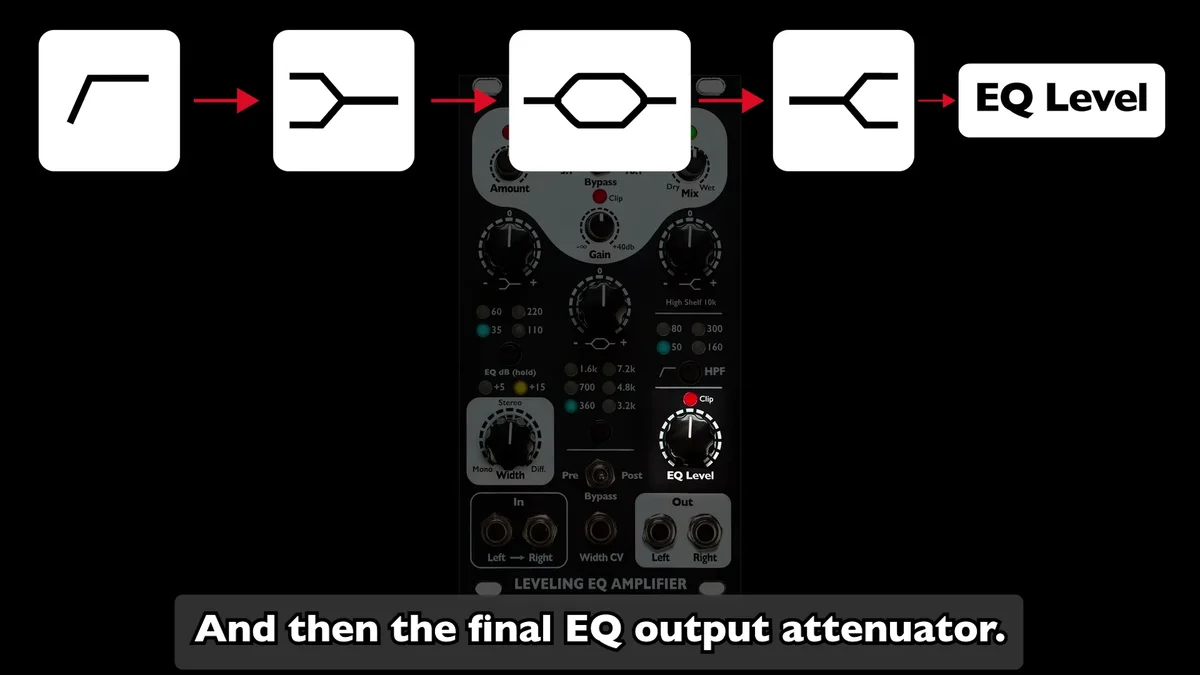
Each band's frequency is selected with buttons. Rather than a fully parametric EQ, you pick from a set of fixed frequencies per band — a design the video explains was inspired by the Neve 1073 EQ, which selects frequencies with rotary switches. Your button selections are saved and restored the next time you power on.
EQ Gain Modes (±5dB / ±15dB)
The boost/cut range of each band is toggled by holding the low shelf button for 2 seconds. The ±5dB mode is for subtle adjustments — mastering-style precision control. The ±15dB mode is for bold tone shaping.
The video explains that in ±5dB mode, the filter shapes become gentler, making them better suited to delicate control over a mix. The highpass filter's slope is tied to this mode: an 18dB/oct cut in ±15dB mode, and 6dB/oct in ±5dB mode.
Highpass Filter
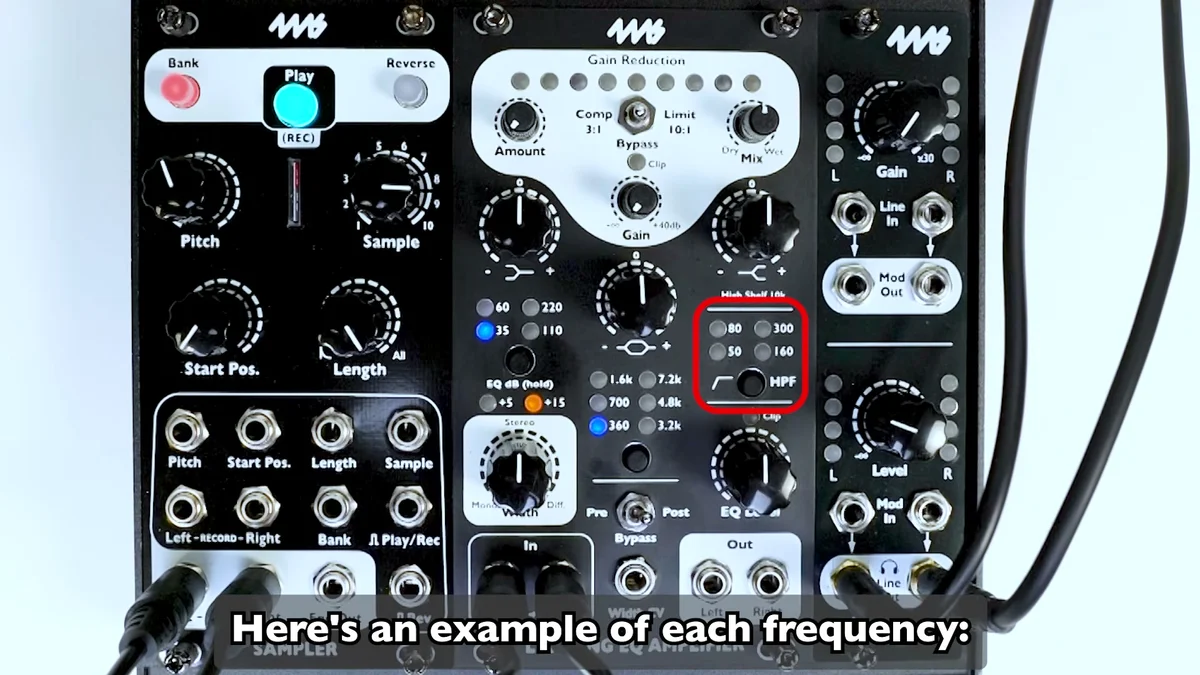
The highpass corner frequency can be set to one of four values: 50Hz, 80Hz, 160Hz, and 300Hz. With all lights off, it's bypassed. The video demos how each frequency affects the sound, one after another.
Low Shelf
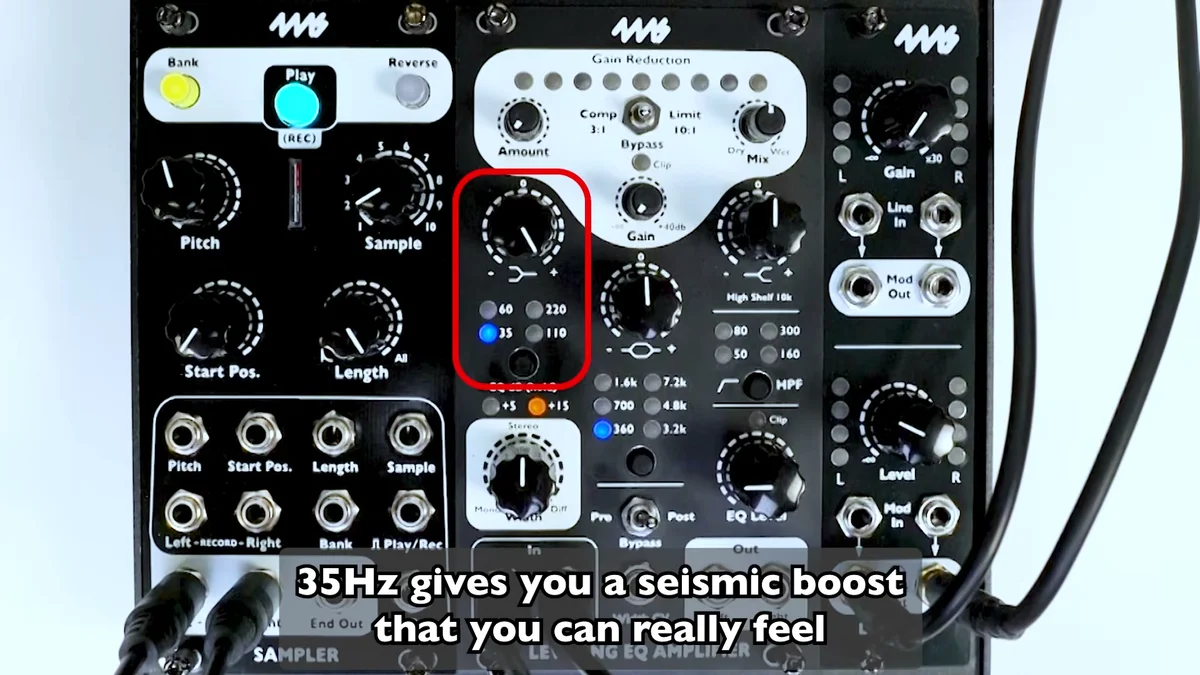
The low shelf is a boost/cut band with four frequencies: 35Hz, 60Hz, 110Hz, and 220Hz. In the video, each frequency is compared with its boost turned all the way up. 35Hz reinforces the sub range — something you feel in your body more than hear with your ears; 60Hz adds low-end weight; 110Hz shapes the contour of the low mids and bass range; and 220Hz lifts things toward the low mids.
The video also introduces the technique of first cutting the lows with the highpass, then bringing them back with the low shelf. By removing headroom-eating content like DC and sub-sonic frequencies before reinforcing the low end again, you get a tighter low end. The LEQA places its highpass before the low shelf precisely with this technique in mind.
Midrange Bell
The midrange bell has six center frequencies: 360Hz, 700Hz, 1.6kHz, 3.2kHz, 4.8kHz, and 7.2kHz. It covers the range where much of a track's essential audio information lives.
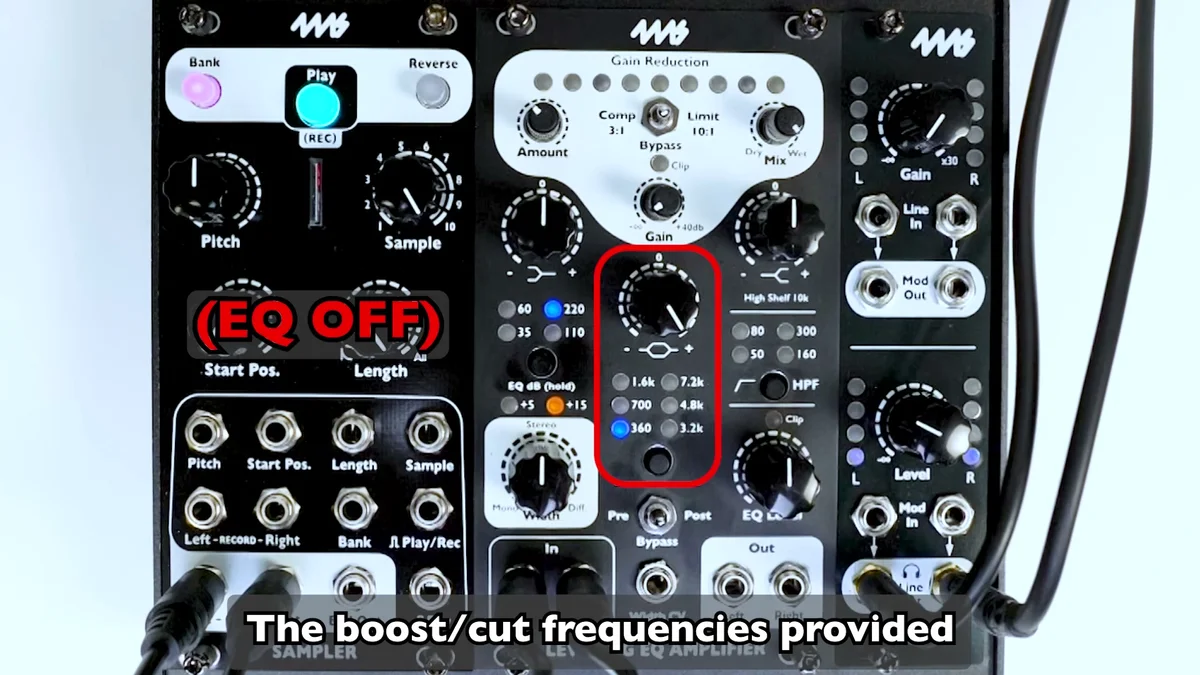
The 1.6kHz to 4.8kHz range is introduced as a sweet spot for reinforcing vocals, melody lines, and the overall presence of a track.
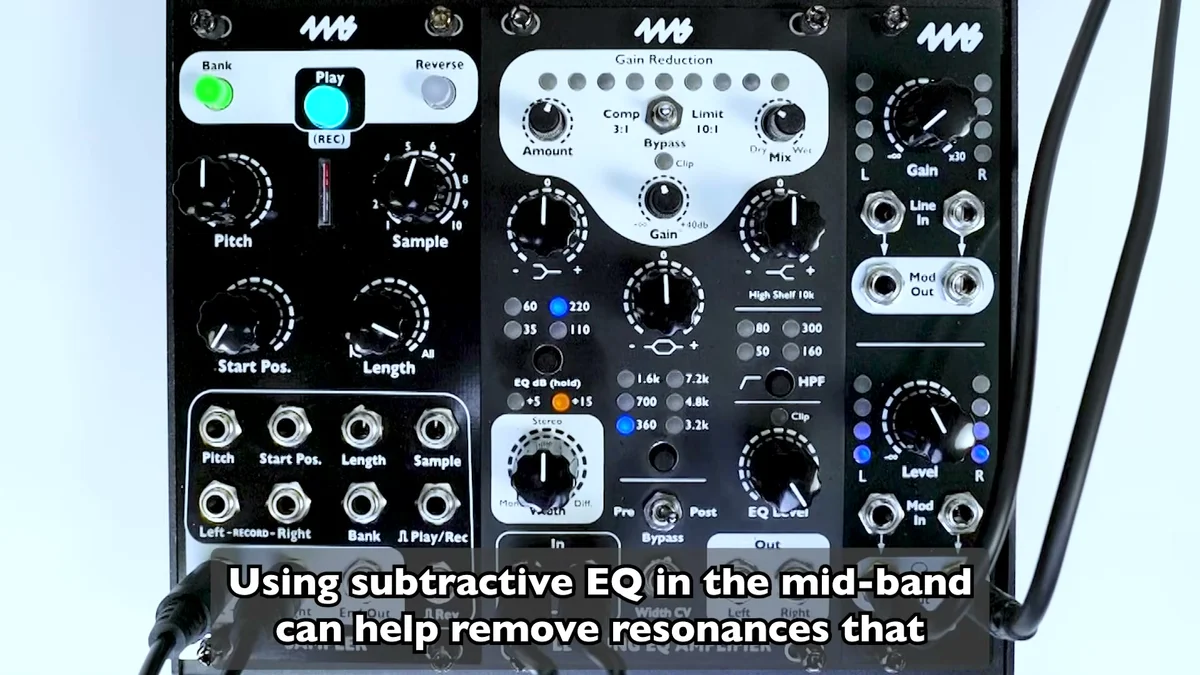
Cutting gets covered as well, not just boosting. By carving into the mid range, you can remove resonances that bury other sounds through frequency masking, or draw out the clarity of transients.
High Shelf
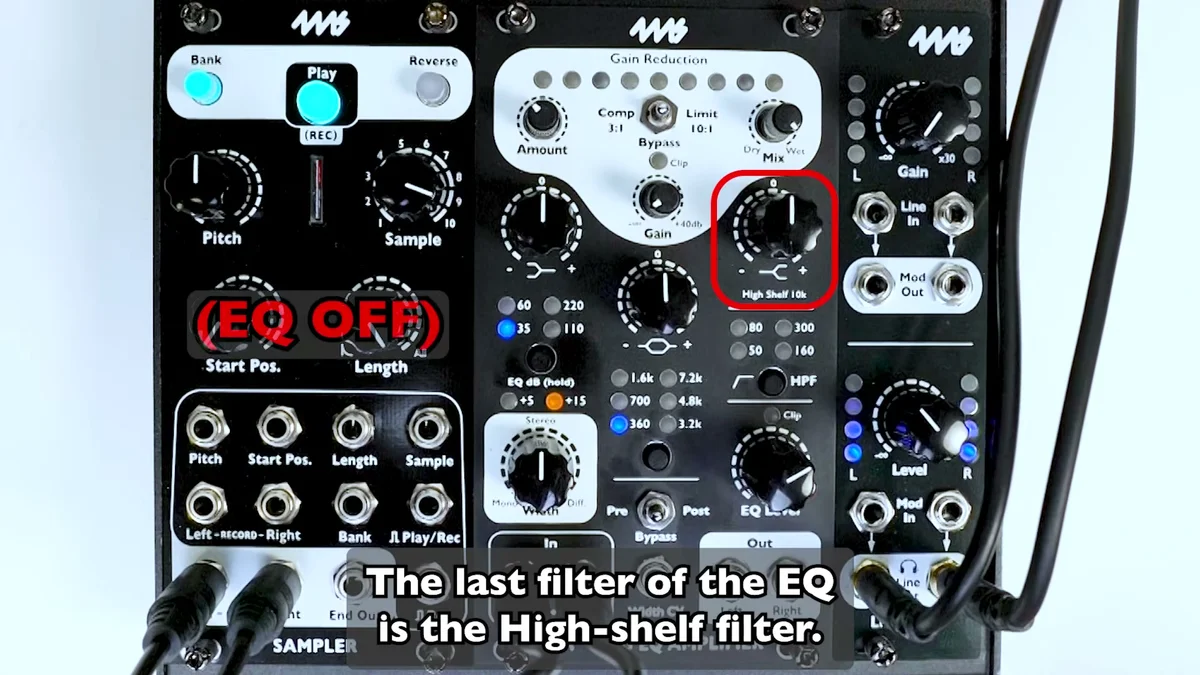
The high shelf is fixed at 10kHz. This range is called the "air band" because it emphasizes the sense of air and reverb tails. Boosting it does more than simply lift the highs — it draws out the presence and spatial width of a mix. It's especially effective on sources with a lot of reverb content.
EQ Level and the Clip Light
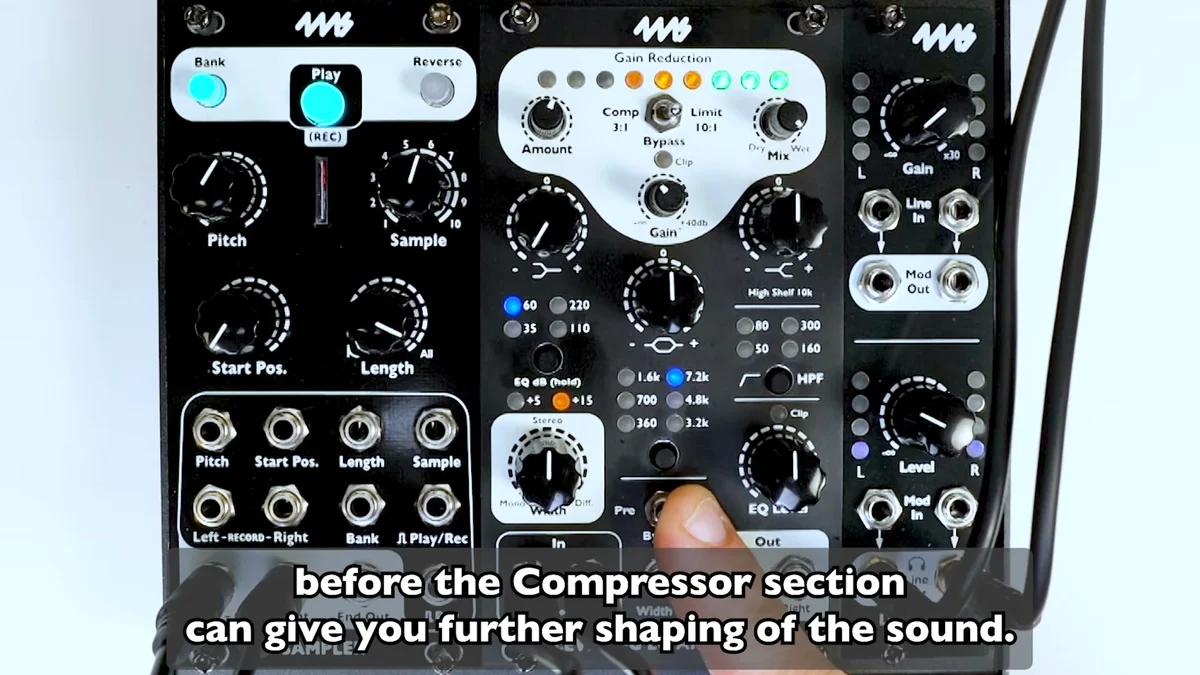
The EQ Level knob is an attenuator that adjusts the EQ section's output level, and it has its own dedicated clip light. Any clipping in the EQ section shows up here. This knob is more than a simple volume control — when the EQ sits before the compressor, it determines the input level going into the compressor, so it's deeply tied to the routing discussed below.
Compressor Section
The Optical Compressor Approach
The LEQA's compressor is a design based on the LA-2A optical compressor. Inside an optical compressor is a small incandescent lamp driven by the input audio — the brighter the lamp glows, the more the signal is attenuated.
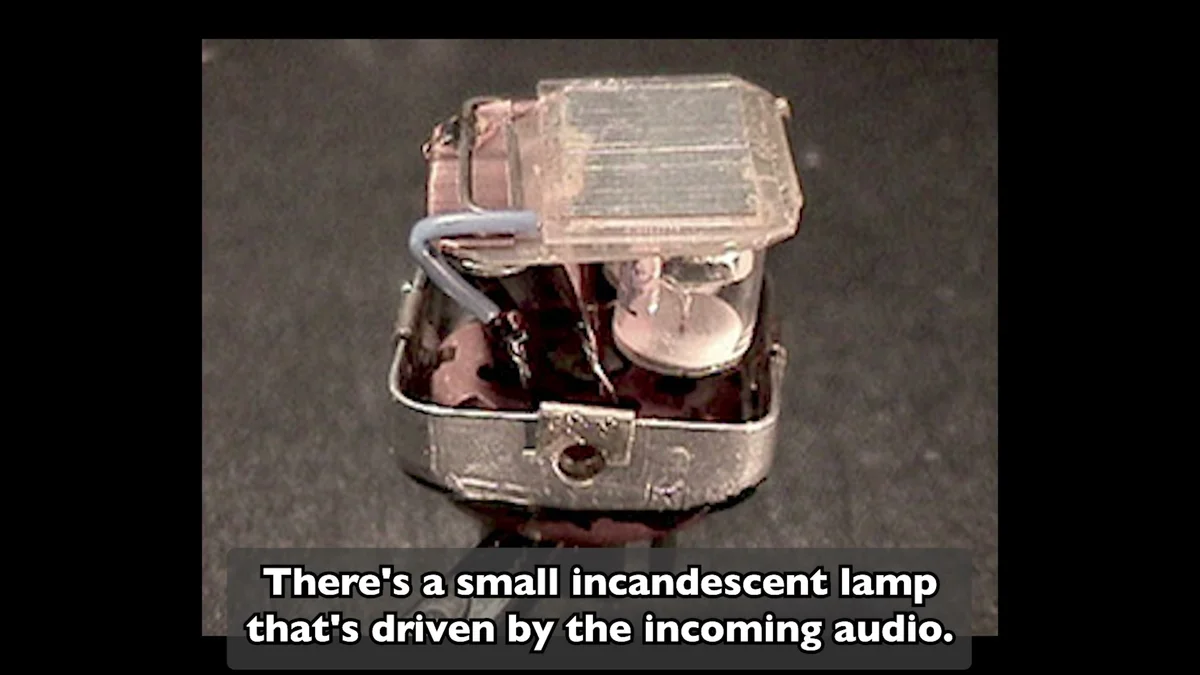
Because the lamp charges and discharges slowly, the attack and release are slow, producing that famously "gluey," warm character. The video explains that this physical behavior is exactly why the LA-2A has remained so highly regarded.
The Amount Knob and the Gain Reduction Meter
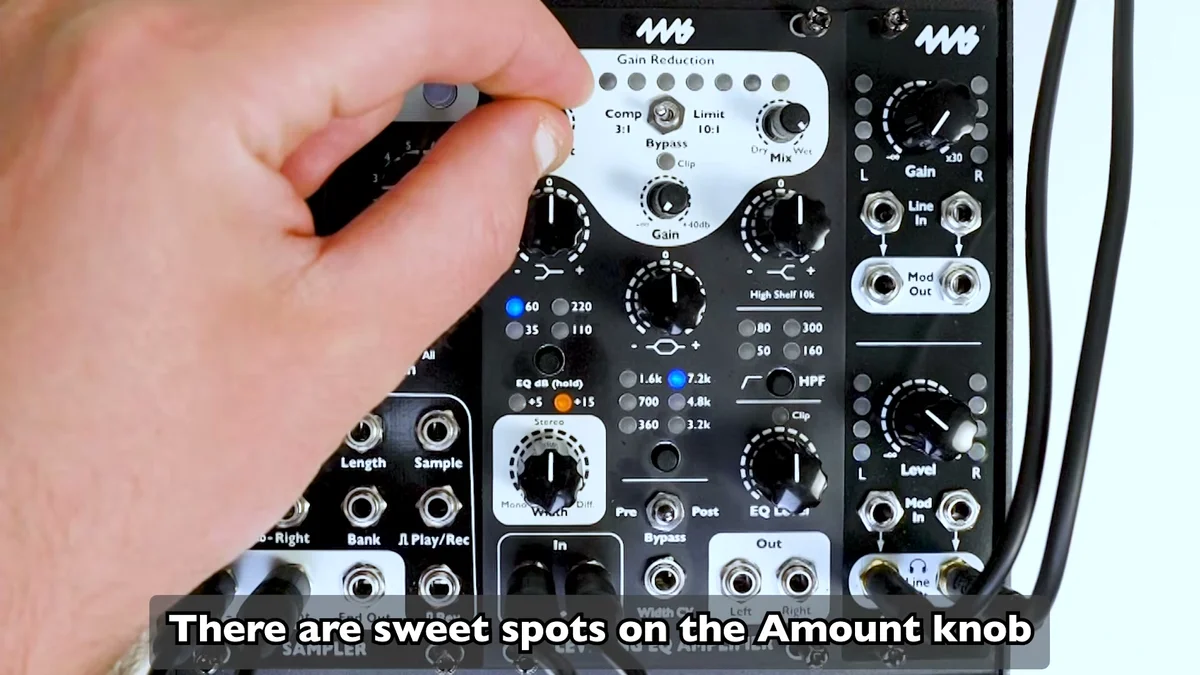
The Amount knob controls how much compression is applied. As you turn it up, the gain reduction meter dips lower, giving you a visual read on how much the signal is being compressed.
Partway through the Amount range is a sweet spot where a pumping effect emerges. Push it further, and the audio gets flattened out in a more clinical way.
The Comp / Bypass / Limit Switch
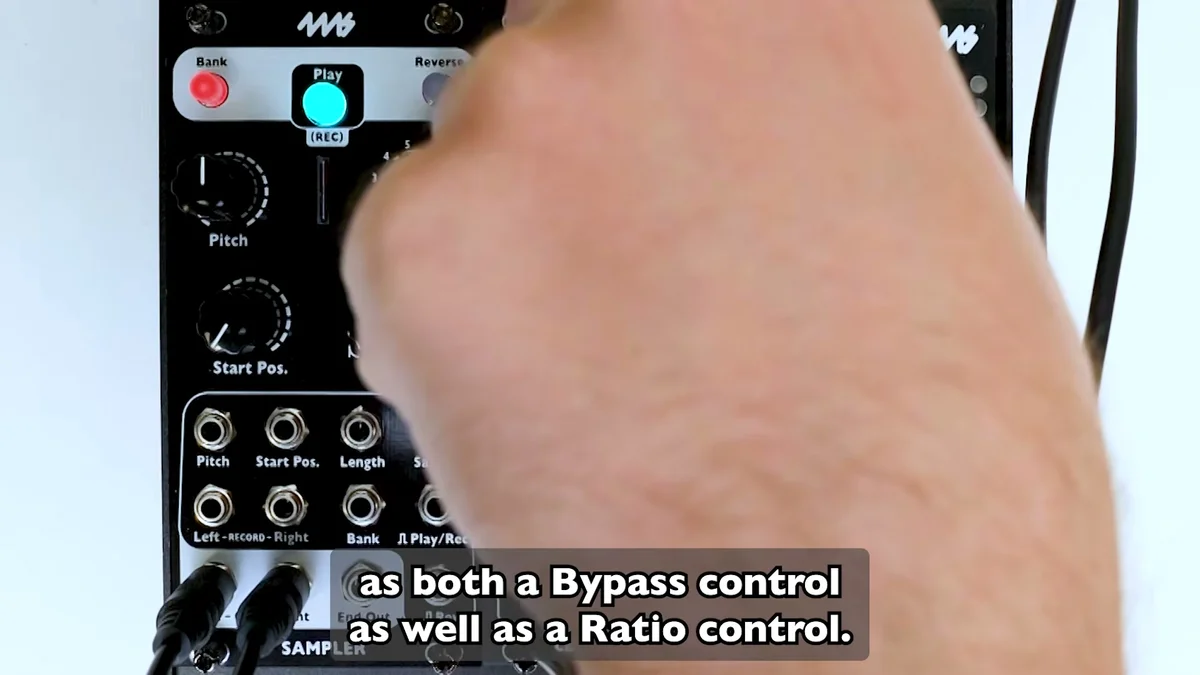
The compressor section's switch doubles as both bypass and ratio selection. The Comp side applies gentle 3:1 compression, while the Limit side applies stronger 10:1 limiting.
The Gain Knob and Soft Clip
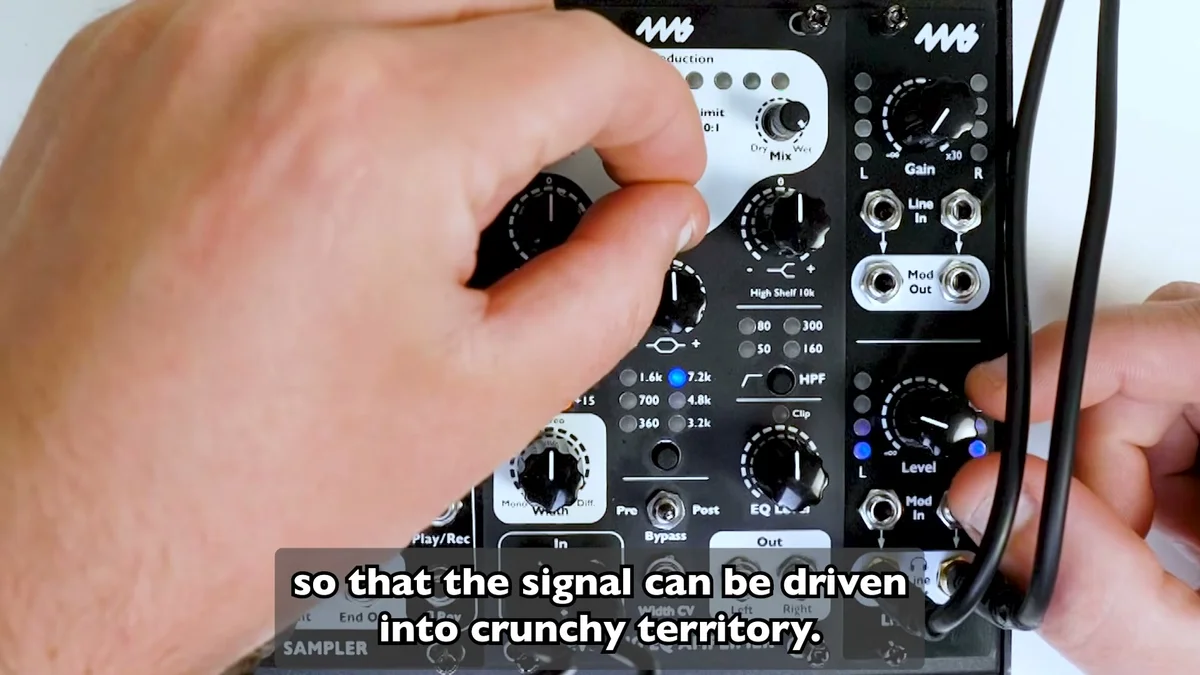
The Gain knob provides makeup gain to bring the compressed signal back up. With up to 40dB of gain on tap, even quiet sources can be brought up to a healthy level.
Around ±10V, a sinusoidal soft clip kicks in, so you can also push the gain aggressively to distort the signal. From light, tape- or tube-like crunch to obvious distortion, it's all in how far you push Gain.
The Mix Knob and Parallel Compression
The Mix knob is a dry/wet control that sets the blend between the compressed signal and the original. This technique — mixing a heavily compressed signal back in with the original — is known as parallel compression.
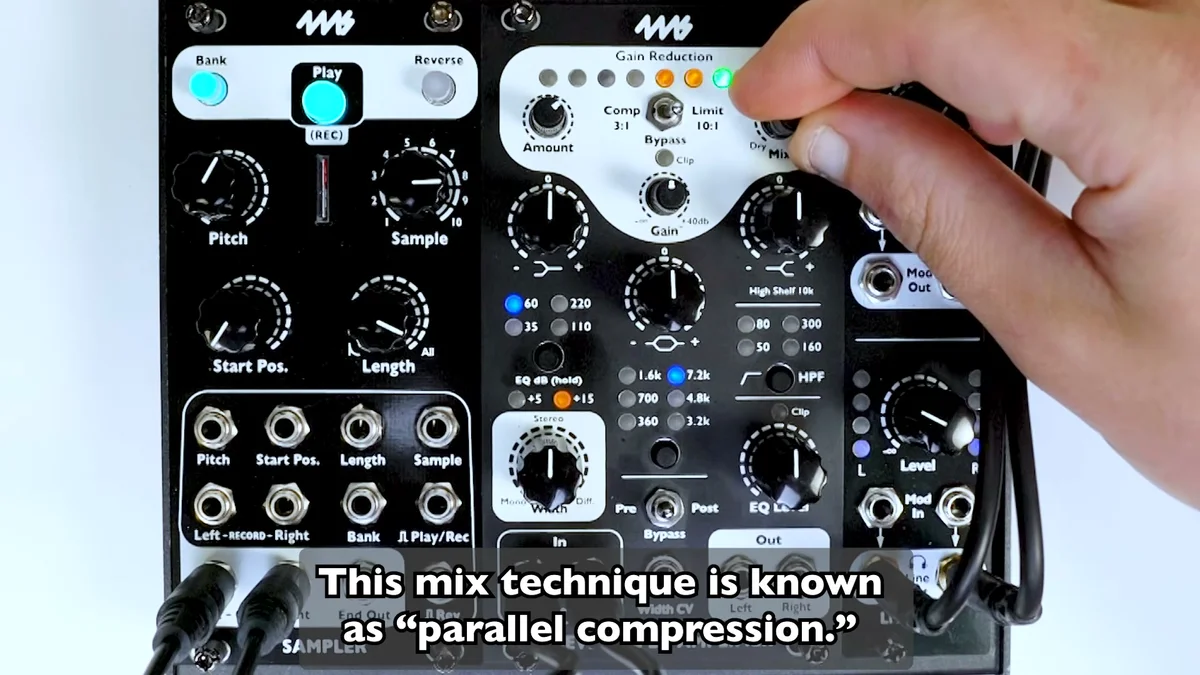
It lets you thicken up a track's density with compression while blending in the original to keep the detail of the transients.
Routing the EQ and Compressor
Because the optical compressor responds to input level, placing the EQ before the compressor (Pre) means your EQ moves directly influence how the compressor reacts. Just adjusting EQ Level changes how the compressor behaves, before you even touch Amount. By boosting or cutting specific bands, you decide what makes the compressor pump.
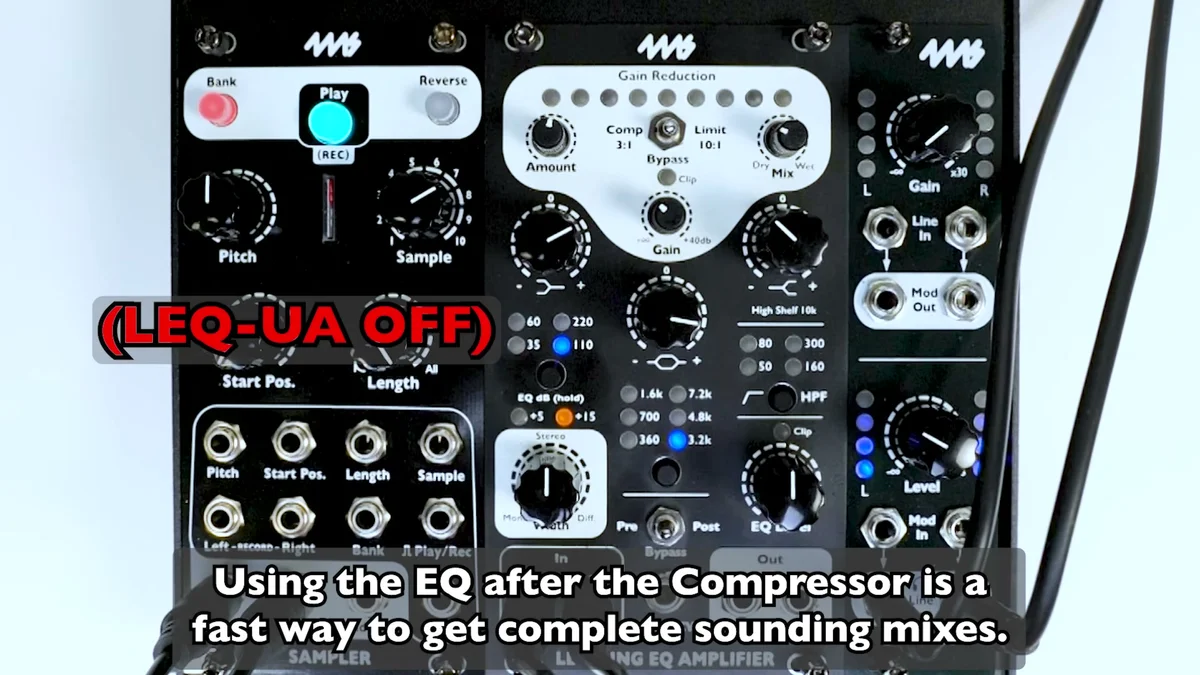
Placing the EQ after the compressor (Post), on the other hand, gives you a flow where the compressor first tames the dynamics and adds glue and density, then the EQ polishes specific bands. It's introduced as the routing for quickly getting to a finished-sounding mix.
Patch Examples
The latter part of the video is a demo of patch examples, running audio from the 4ms Sampler through the LEQA. Comparisons with the LEQA toggled on and off, fading in the stereo width, DJ-style performance while working the EQ bands — you can hear everything covered so far in actual sound.
That's it for EP.1. This time, we followed the official 4ms tutorial video and covered the LEQA's three sections: the stereo width processor, EQ, and compressor.
Don't you think modules like this are pretty rare in the modular synth world? Takazudo's personal impression, writing this guide, is that modular synth modules tend to lean toward the fun of controlling things with CV, and modules this dedicated to processing the audio itself at high quality are few and far between.
As for Takazudo, this kind of processing is something I'd been doing at the final mix stage with various plugins inside AUM on the iPad. Honestly, I think leaning on software for that part is perfectly valid — but being able to work the knobs directly and feel the sound being processed, like you can with this module, really is something special. It's the kind of module that has me thinking I want two — one for drums and one for everything else…!
Leveling EQ Amplifier Product Details
You can find the product details for the Leveling EQ Amplifier (LEQA) below.