
This is EP.10 of the OXI ONE MKII guide series. In EP.9 we covered Multitrack mode for rhythm sequencing. This episode explores how to use Multitrack mode melodically.
In Multitrack mode the grid displays and controls 8 tracks simultaneously. Used melodically, you can feed multiple tracks into the same instrument for polyphonic phrases, vary track lengths to generate evolving patterns, or route different tracks to different instruments — composing a full arrangement inside a single sequencer. Set all 8 sequencers to Multitrack and you can run up to 64 independent tracks at once.
Takazudo Modular publishes manuals and related documents with Japanese translations. See the links below.
- Multitrack Mode for Melodic Sequencing
- Single-Instrument Setup
- Track 1: 16-Step Anchor / Step Editing
- Page 2: Repetition and CV Glide
- Column View: Editing Notes and Step Parameters
- Groove and Randomization
- Building Chords with Multiple Tracks
- Creating Variation with Different Track Lengths
- Shift + Stop to Resync
- Track 4: 5-Step Short Phrase
- Track 5: Bass Line at 1/2 Division
- Track 6: Melody via Random Generator
- Multi-Instrument Routing
- Bass Line (Slippery Slope) and Slides
- Adding the Melodic Line (Drift)
- Drum Pattern Generator on Tracks 1–3
- Performance Page: Loop and Fill
- A Full Song in One Sequencer — and Seven More to Spare
Multitrack Mode for Melodic Sequencing
Multitrack mode is most immediately legible for rhythm programming, but it works equally well for melodic content. In this video, several examples show how to build melodic lines and even a full-song arrangement using the Multitrack layout.
Setting all 8 sequencers to Multitrack gives you up to 64 tracks of independent sequencing.
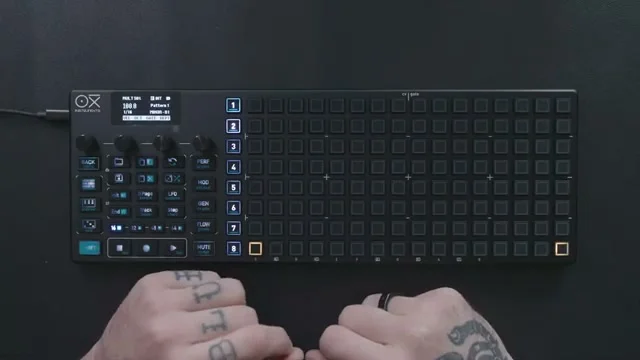
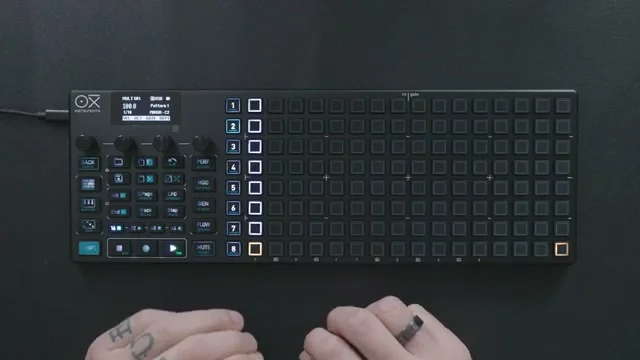
Single-Instrument Setup
The first example uses Ableton Live's Drift instrument set to MIDI channel 1 with polyphony set to 8 notes. An empty pattern is loaded, switched to Multitrack mode, and steps are placed track by track.
Track 1 plays the root note assigned to the sequencer (in this case C2). Each subsequent track adds a scale-quantized interval offset on top of that root.
For example, with the sequencer scale set to C major, placing steps at the same column position on each track stacks scale tones upward by one degree per track.
Because every note is quantized to the scale, placing steps at the same column position automatically builds scale-correct chords — no music-theory knowledge required. Combine this with differing track lengths to create interesting polyphonic results from multiple independent monophonic sequences feeding the same instrument.
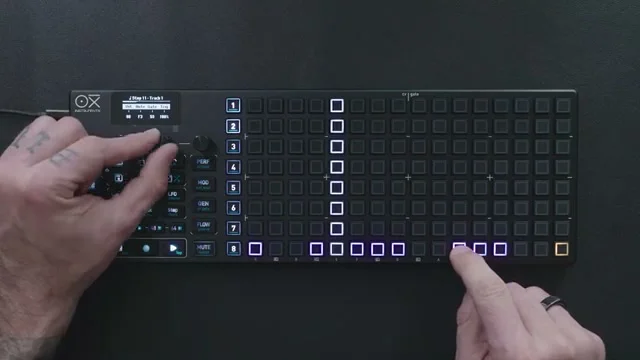
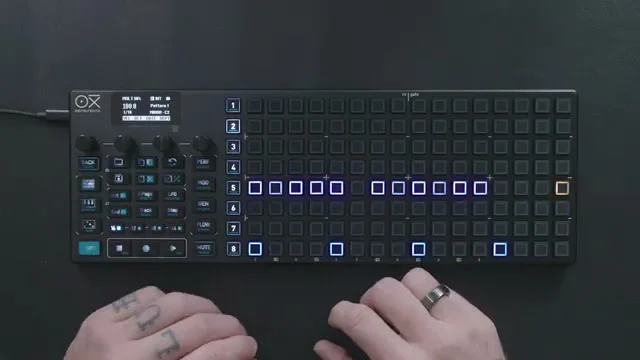
Track 1: 16-Step Anchor / Step Editing
The first step is creating a 16-step pattern on Track 1. This acts as the anchor for all subsequent tracks.
There are two ways to change a step's note.
Hold the step and turn Encoder 2: Changes the note of that step
Use column view: Edit via column view (see below)
While holding a step you can also adjust Velocity, Gate Length, and Logic Condition with the other encoders.
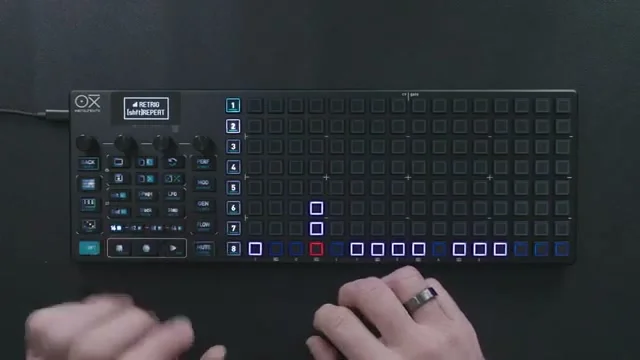
Page 2: Repetition and CV Glide
Hold a step and press Page to access the second page of step settings. Here you can adjust Repetition and CV Glide. CV Glide is only effective when using CV/Gate output.
The video demonstrates adding Repetition and then setting Logic Condition to 1 every 3 (the step fires once every three loops).
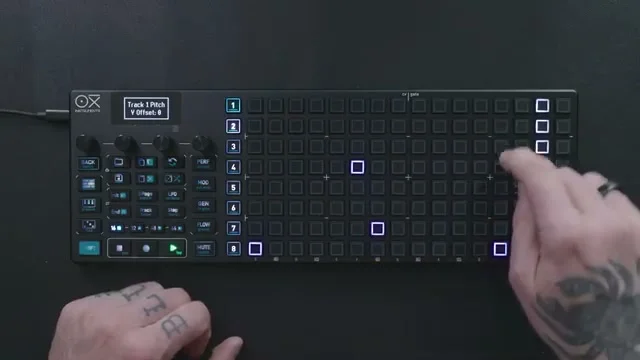
Column View: Editing Notes and Step Parameters
Column view is a second way to edit notes and step parameters. With the target track selected, press the corresponding encoder to enter each view.
Press Encoder 2: Note Offset column view — works the same way as in Mono mode
Press Encoder 1: Velocity column view
Press Encoder 3: Gate Length column view
Press Encoder 4: Retrigger and Repetition column view
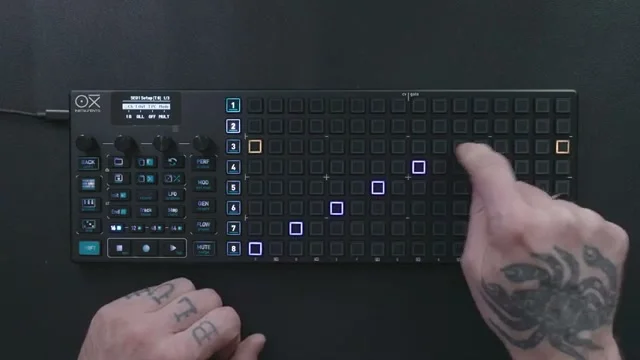
Groove and Randomization
Once the pattern is in place, add groove to give it feel. The video shows adding accent (velocity variation) and a time offset (timing fluctuation).
Randomization is also effective here. For example, randomizing Velocity by ±20% adds subtle natural variation to what would otherwise be mechanical playback.
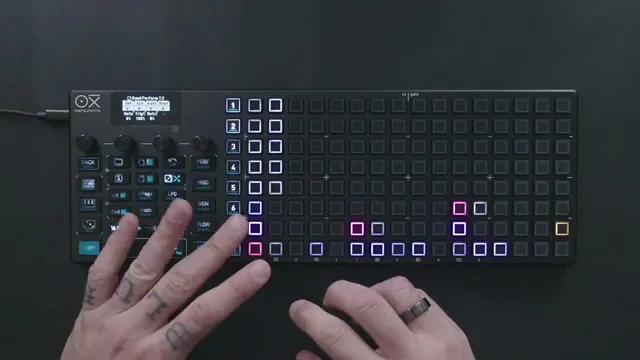
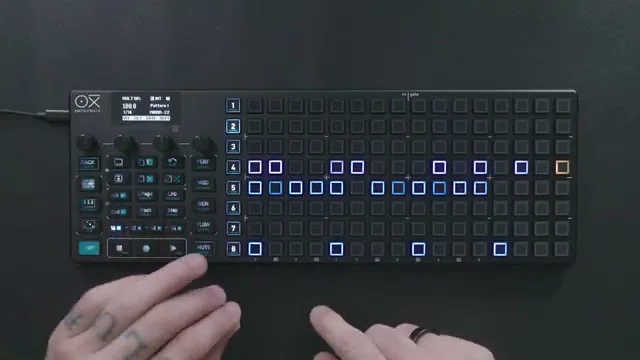
Building Chords with Multiple Tracks
With the Track 1 foundation in place, Tracks 2 and 3 are added to form chords. As noted earlier, each successive track applies a scale-quantized interval offset, so placing steps at the same column position automatically produces chords within the scale.
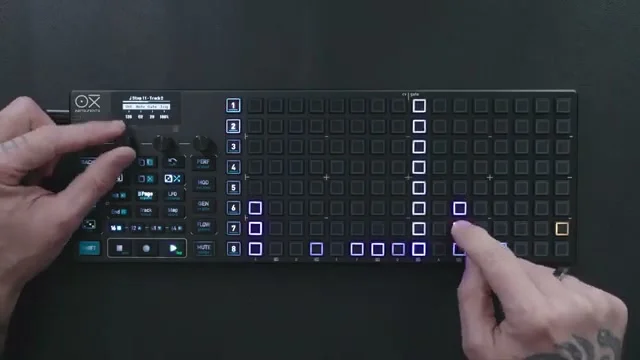
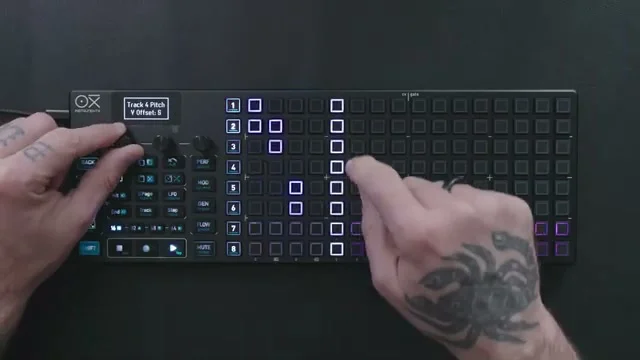
Creating Variation with Different Track Lengths
Setting different pattern lengths per track shifts each track's loop cycle out of phase, generating variation over time. The video shows Track 2 set to 15 steps and Track 3 to 14 steps. With Track 1 staying at 16 steps, the three tracks loop at different rates and only realign after 16 × 15 × 14 steps — an extremely long evolving pattern.
Shift + Stop to Resync
To bring decoupled tracks back into alignment, reset all track lengths to 16 steps and press Shift + Stop. This resyncs every track's playhead so they all restart together.
Track 4: 5-Step Short Phrase
Next, Track 4 is added with a pattern length of 5 steps. Entering column view allows editing the notes and velocity. The short 5-step loop weaves against the longer tracks to create a constantly shifting riff.
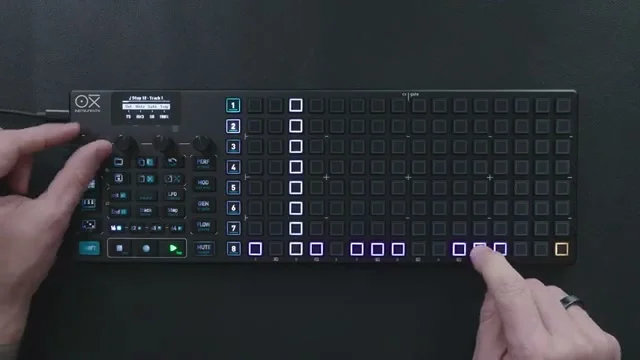
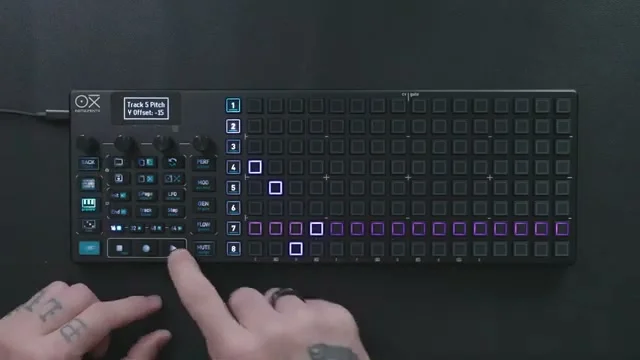
Track 5: Bass Line at 1/2 Division
Track 5 carries the bass line. The steps are as follows.
Set pattern length to 4 steps
Press Shift + End to change Division to 1/2 (each step spans half a bar)
Mute all other tracks and select Track 5, then open the Note Offset column view
Enable Preview and lower the notes several octaves while listening back
Set a longer Gate Length
Unmute the other tracks and play back the full arrangement
4 steps × 1/2 Division produces a slow, sustained bass line that sits comfortably beneath the melodic tracks above it.
Track 6: Melody via Random Generator
To add further motion, a random generator pattern is placed on Track 6. Press the Random button twice to enter the random generator.
The video uses these settings:
Bias: +10 (biases notes toward the upper range)
Range: +17
Density: 80
Press Encoder 4 to generate the pattern
After generation, density and range can be adjusted and the pattern regenerated until the result feels balanced.
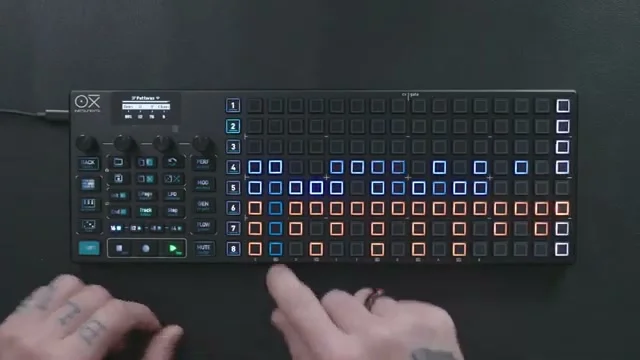
Multi-Instrument Routing
So far the example uses a single instrument (Drift) for polyphonic playback. Multitrack mode can also assign different MIDI channels to different tracks, letting you sequence multiple instruments simultaneously.
The video switches to the following configuration.
Tracks 1, 2, 3: Send to an Ableton drum rack on MIDI channel 8
Track 1: C1 (kick)
Track 2: D1 (snare)
Track 3: D#1 (hi-hat)
Track 4: Slippery Slope (see below)
Track 5: Drift (melodic, see below)
Track 1 starts with a four-on-the-floor kick pattern.
Bass Line (Slippery Slope) and Slides
Track 4 loads Slippery Slope (a bass plug-in by Iftah Gabbay) on MIDI channel 2 as the bass line.
Setting a long tie gate on a step (one that extends into the next step) produces a slide. Velocity is then varied for dynamics, and the pattern is duplicated to extend its length.

Adding the Melodic Line (Drift)
Track 5 is reassigned to Drift for the melodic line. With one Multitrack track dedicated to melody, the same sequencer manages drums, bass, and melody as a unified arrangement.
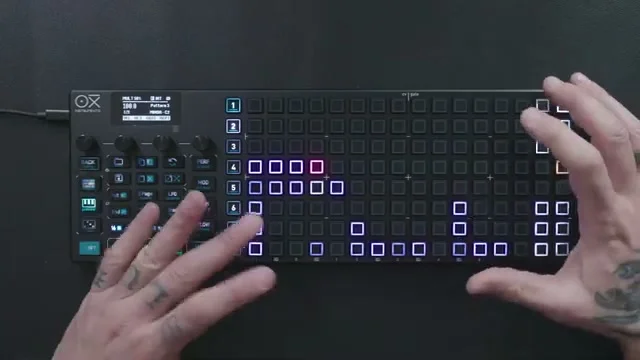
Drum Pattern Generator on Tracks 1–3
With Track 1 (kick), Track 2 (snare), and Track 3 (hi-hat) in place, you can activate the Multitrack-exclusive drum pattern generator.
The activation steps are:
Press the Random button
Press all three blue pads that appear on Tracks 1, 2, and 3 to enable the generator
Delete the manually entered triggers
Set the pattern length to 32 steps
Press Play — the generator produces triggers immediately
While playing, adjust the generator parameters until the pattern feels right.
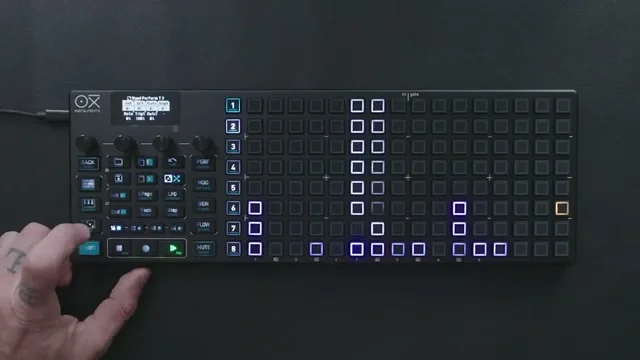
Performance Page: Loop and Fill
The performance page (press the [Perf] button) lets you control track mutes and solos as well as Fill and Loop. In Multitrack mode each sequencer is shown as one row, with columns assigned as follows.
Columns 1–8: Mute / unmute for Tracks 1–8
Columns 9–12: Fill (four intensity levels)
Columns 13–16: Loop (four loop lengths)
Fill (Columns 9–12)
Fill repeats notes at musical intervals from the current position for as long as the pad is held. The four pads in columns 9–12 each represent a different density level, so switching between them changes the repetition speed. Fill is a momentary operation — it is ideal for dropping in rapid bursts during a break or build-up.
Inactive: dim purple glow
Active: bright purple lit
Loop (Columns 13–16)
Loop captures the sequence from the current playback position and repeats it on a short loop. The four pads in columns 13–16 each correspond to a different loop length (1–4 steps).
The loop begins from the exact position where you press the pad
While a loop is active, pressing a different Loop pad **changes the length without resetting the
position**
Tapping the active Loop pad a second time releases the loop
The release timing follows the Loop sync release setting under **Config > Performance
settings**: No Sync / Bar / Beat
Pad states:
Inactive: dim green
Active: bright green lit
Fill and Loop both let you add variation at the performance stage without rewriting the underlying sequence — making them especially useful for live performance and improvisation.
A Full Song in One Sequencer — and Seven More to Spare
Following the steps above, a single sequencer running in Multitrack mode can hold a complete arrangement with drums, bass, and melody. The OXI ONE MKII has eight sequencers in total, so even after building a full song inside one Multitrack, you still have seven more sequencers free to use however you like. Set all eight to Multitrack and you can manage up to 64 independent tracks simultaneously.
That wraps up EP.10. This episode covered how to use Multitrack mode melodically.
My personal take: I think Multitrack mode for melody would feel genuinely interesting even to someone who doesn't know OXI ONE that well. Just from this video alone, seeing drums and melody playing together is enough to make it feel inviting and fun.
It also struck me that this demo uses Ableton Live rather than OXI Coral — clearly aiming at a broad audience. People working in a DAW tend to build things by placing notes one by one, so having a piece of hardware that lets you do the same thing by hand — in a more tactile way — is a compelling pitch, and I think this video lands it well.
OXI ONE became the MKII with a significant increase in total track count, and honestly my first reaction was "what would you even do with all of that?" But laying out separate melodies per part suddenly makes a lot of sense. Song mode, by contrast, feels a bit stiff to me — you're switching the whole arrangement at once. With Multitrack you can store different melodic ideas per part, mute and combine them on the fly, which gives you much more flexibility over the course of a live set.
There are a lot of ideas packed into this video, so if you don't own one yet and are at all curious, it might be the thing that tips you over the edge — fair warning!
OXI ONE MKII Product Page
Find detailed product information for OXI ONE MKII below.
Black Edition of the next-generation standalone sequencer succeeding the original OXI ONE, handling 8 parts and up to 64 tracks. Enhanced generative features, a large OLED display, and a beefed-up CPU suit it for modular rigs, MIDI-hardware live sets, and DAW-based production.
Nostalgia Edition of the next-generation standalone sequencer succeeding the original OXI ONE, handling 8 parts and up to 64 tracks. Enhanced generative features, a large OLED display, and a beefed-up CPU suit it for modular rigs, MIDI-hardware live sets, and DAW-based production.
