This is EP.1 of our guide series on the ADDAC705 VC Stinggy Filter. This time, we'll walk through the module as a whole, the controls laid out across the front panel, and its inputs and outputs, one at a time.
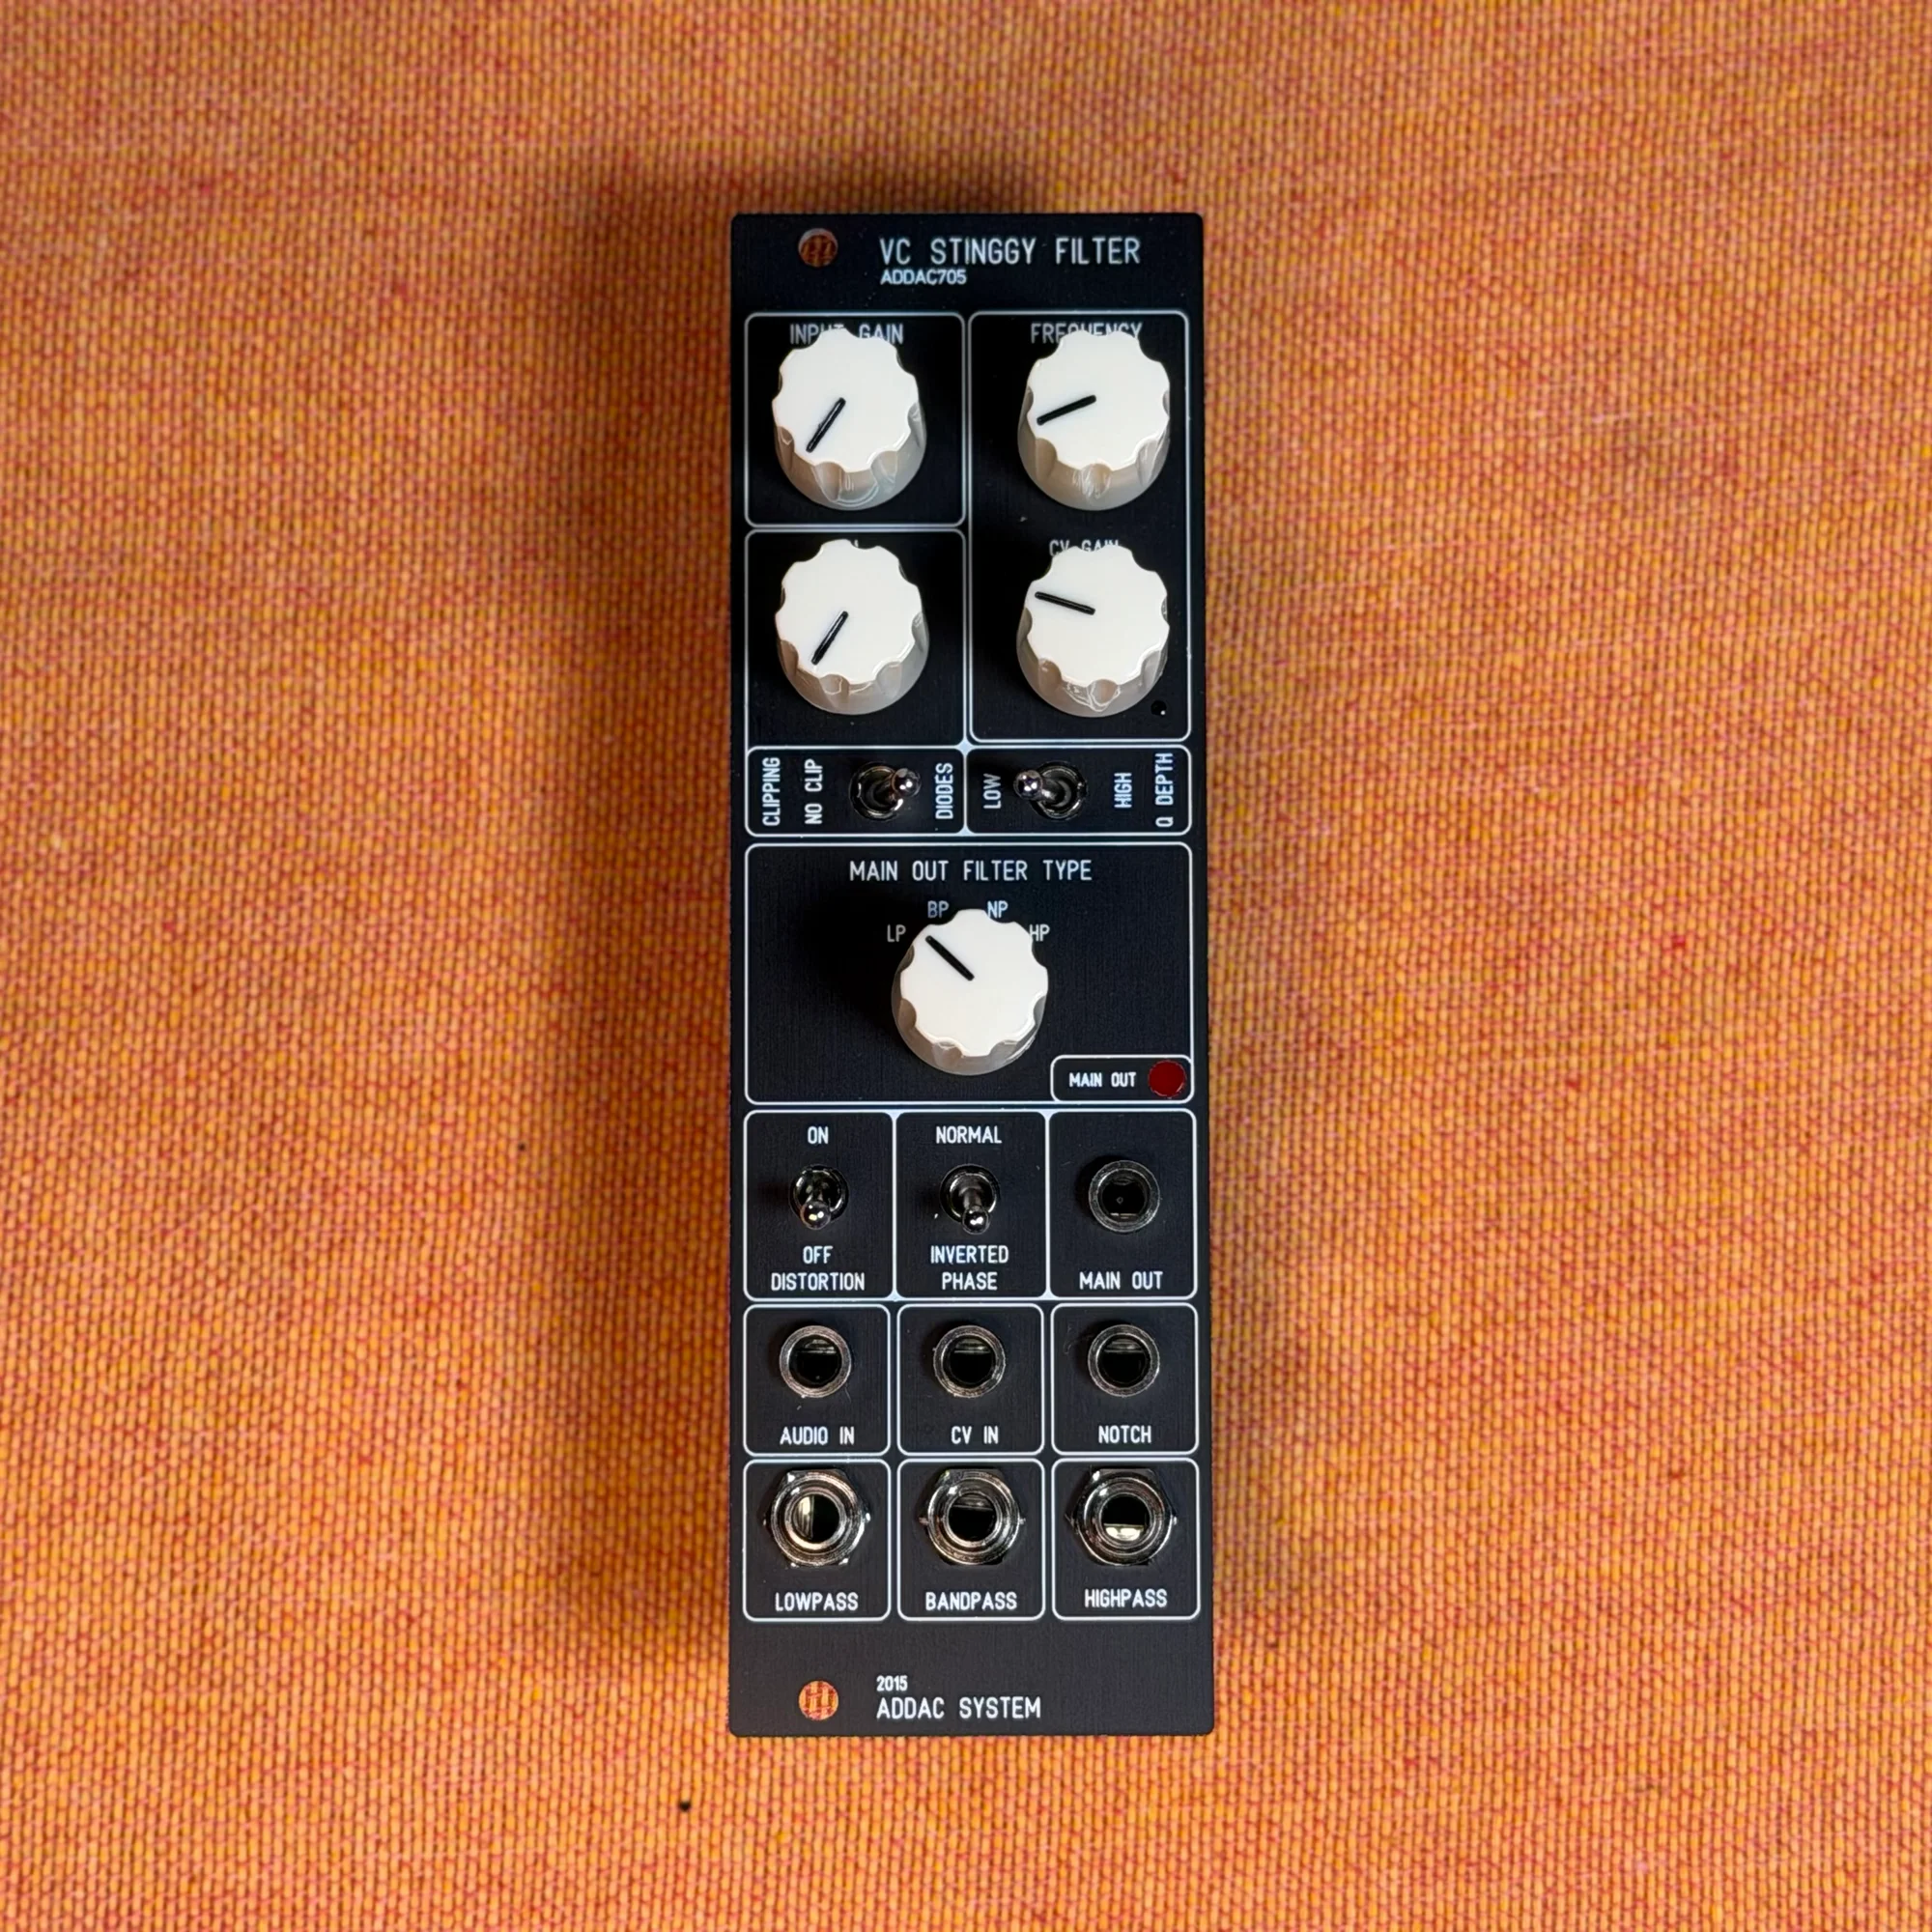
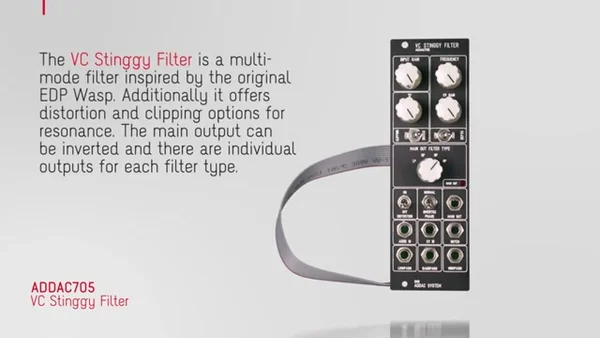
The ADDAC705 VC Stinggy Filter is a multimode VCF (voltage-controlled filter) inspired by the filter in the legendary EDP Wasp. On top of serving as an ordinary filter, its standout feature is the distortion and clipping options you can apply to the resonance. The main output can also have its phase inverted, and there are individual outputs for each filter type — LP, BP, NP, and HP.
- What Is the VC Stinggy Filter?
- Input Gain
- Filter Frequency and Resonance
- Resonance Character: Clipping and Depth
- Distortion and Phase
- Inputs and Outputs
What Is the VC Stinggy Filter?
The VC Stinggy Filter is a multimode filter that lets you switch between low-pass (LP), band-pass (BP), notch (NP), and high-pass (HP). The EDP Wasp filter it's based on is known for its distinctive, raw-edged distortion, and the Stinggy inherits that same character.
What sets it apart from a typical filter is that you can actively shape the behavior of the resonance with distortion and clipping. Rather than a clean, polished filter, it's easier to picture it as a filter for adding "color" to your sound.
Input Gain
Input Gain is the knob that adjusts how much signal you send into the filter. As you raise the input level, you drive the filter circuit harder. Combined with the distortion covered later, the amount of input gain also affects how the sound distorts, making it the starting point for your sound design.

Filter Frequency and Resonance
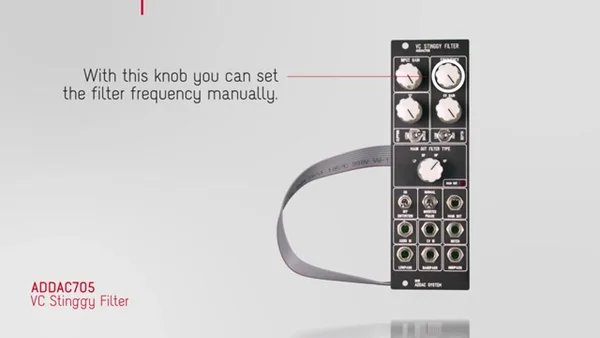
Frequency
The Frequency knob sets the filter's cutoff frequency manually. In low-pass mode, the band above this knob's setting is cut, and turning the knob changes the brightness of the sound. Combined with the CV input covered later, you can also move the frequency automatically with an LFO, an envelope, and so on.
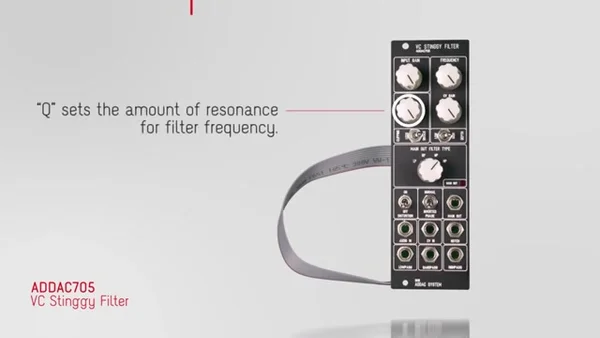
Q (Resonance Amount)
Q sets the amount of resonance, which emphasizes the region around the cutoff frequency. The higher you push Q, the more of a peak forms near the cutoff, strengthening that characterful, filter-like ring. The Stinggy's resonance has a wide range — crank it to the maximum and it self-oscillates, with the filter itself starting to sound as a tone source.
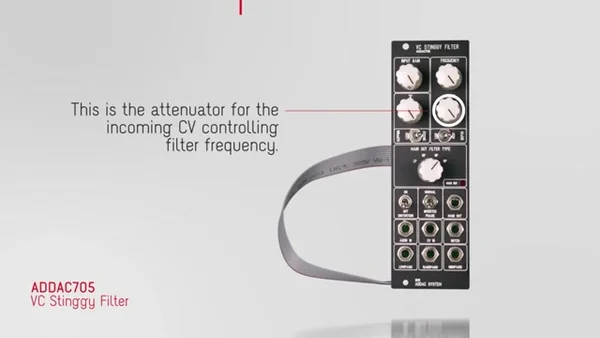
CV Attenuator
Next to Frequency is an attenuator that adjusts how strongly the incoming filter-frequency CV takes effect. When you patch an LFO or envelope into the CV input, this is where you dial the amount of modulation up or down. Whether you want a subtle wobble or a big sweep, you control it with this knob.
Resonance Character: Clipping and Depth
The Stinggy's resonance lets you switch its very behavior with two switches.
Clipping Switch
The Clipping switch toggles whether the resonance is limited by an LED or by a diode. Changing the clipping method changes the attack feel of the resonance and the character of how it distorts.

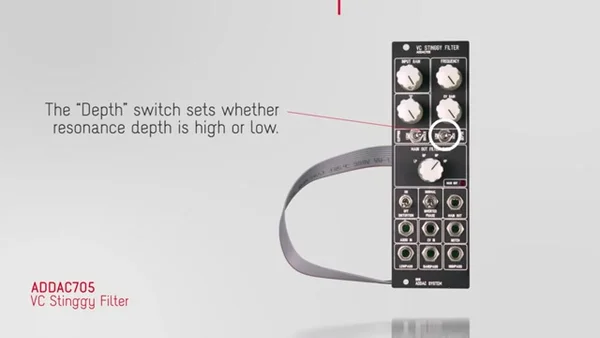
Depth Switch
The Depth switch toggles how the resonance is applied (its depth) between High and Low. Changing the depth significantly changes how strongly the resonance takes effect, even at the same Q setting.
Since Clipping and Depth each have two settings, combining them gives you four resonance types in total. We'll get into an actual side-by-side listen in EP.2.
Distortion and Phase
Distortion Switch
Turn this switch on and distortion is added to the main output signal. The important thing is that the distortion applies only to the main output — it doesn't affect the individual filter outputs covered later. This is the switch for bringing out the Stinggy's signature raw-edged character.

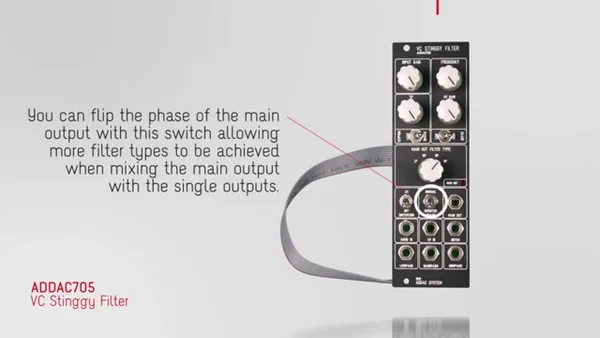
Phase Inversion on the Main Output
This switch lets you invert the phase of the main output. When you mix the main output with the individual outputs in a mixer, inverting the phase causes certain frequencies to cancel out, letting you create a wider variety of filter responses. We'll actually try out this technique in the mixing section of EP.2.
Inputs and Outputs
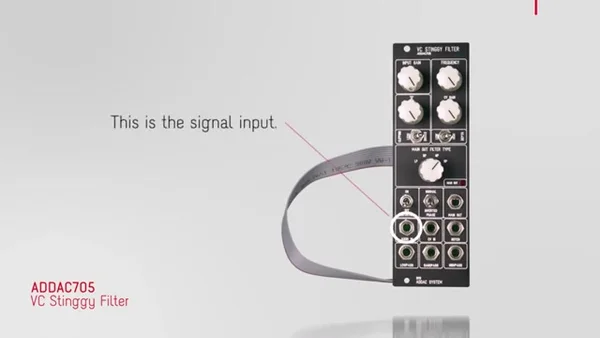
Signal Input
Connect the audio signal you want to run through the filter to the signal input. Feed whatever you want to filter here — a synth VCO, drums, samples, and so on.
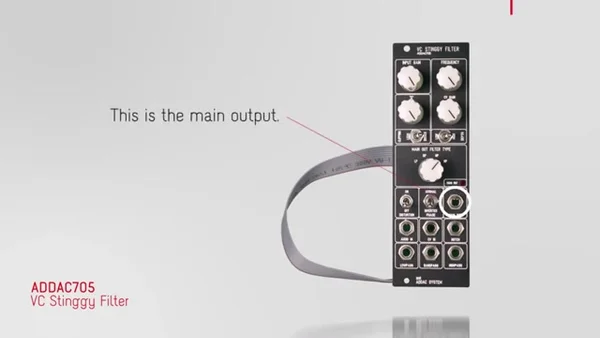
Main Output
The main output is the primary output where the sound of the currently selected filter type comes out. The Stinggy's unique features — distortion and phase inversion — are reflected on this main output.
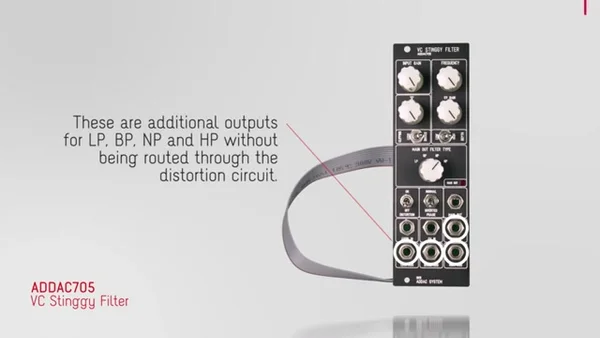
Individual Filter Outputs (LP / BP / NP / HP)
Separate from the main output, there are individual outputs for LP, BP, NP, and HP. These are raw filter outputs that don't pass through the distortion circuit, so you can tap multiple filter types at once to mix them, or send them to separate destinations.
That's it for EP.1. On top of its basic multimode-filter functionality, the ADDAC705 VC Stinggy Filter packs in plenty of features that expand your sound design — clipping/depth switching for the resonance, distortion on the main output, phase inversion, and individual outputs for each filter type. In the next installment, EP.2, we'll actually put these controls to use and cover the sonic differences between filter types, more advanced patches that mix the outputs, and even using self-oscillation to turn the filter into a tone source.
By the way, the demo video referenced in this article is the official video from ADDAC System. Be sure to check out the video to hear the actual sound and see it in action.
ADDAC705 Product Details
You can find the product details for the ADDAC705 VC Stinggy Filter below.