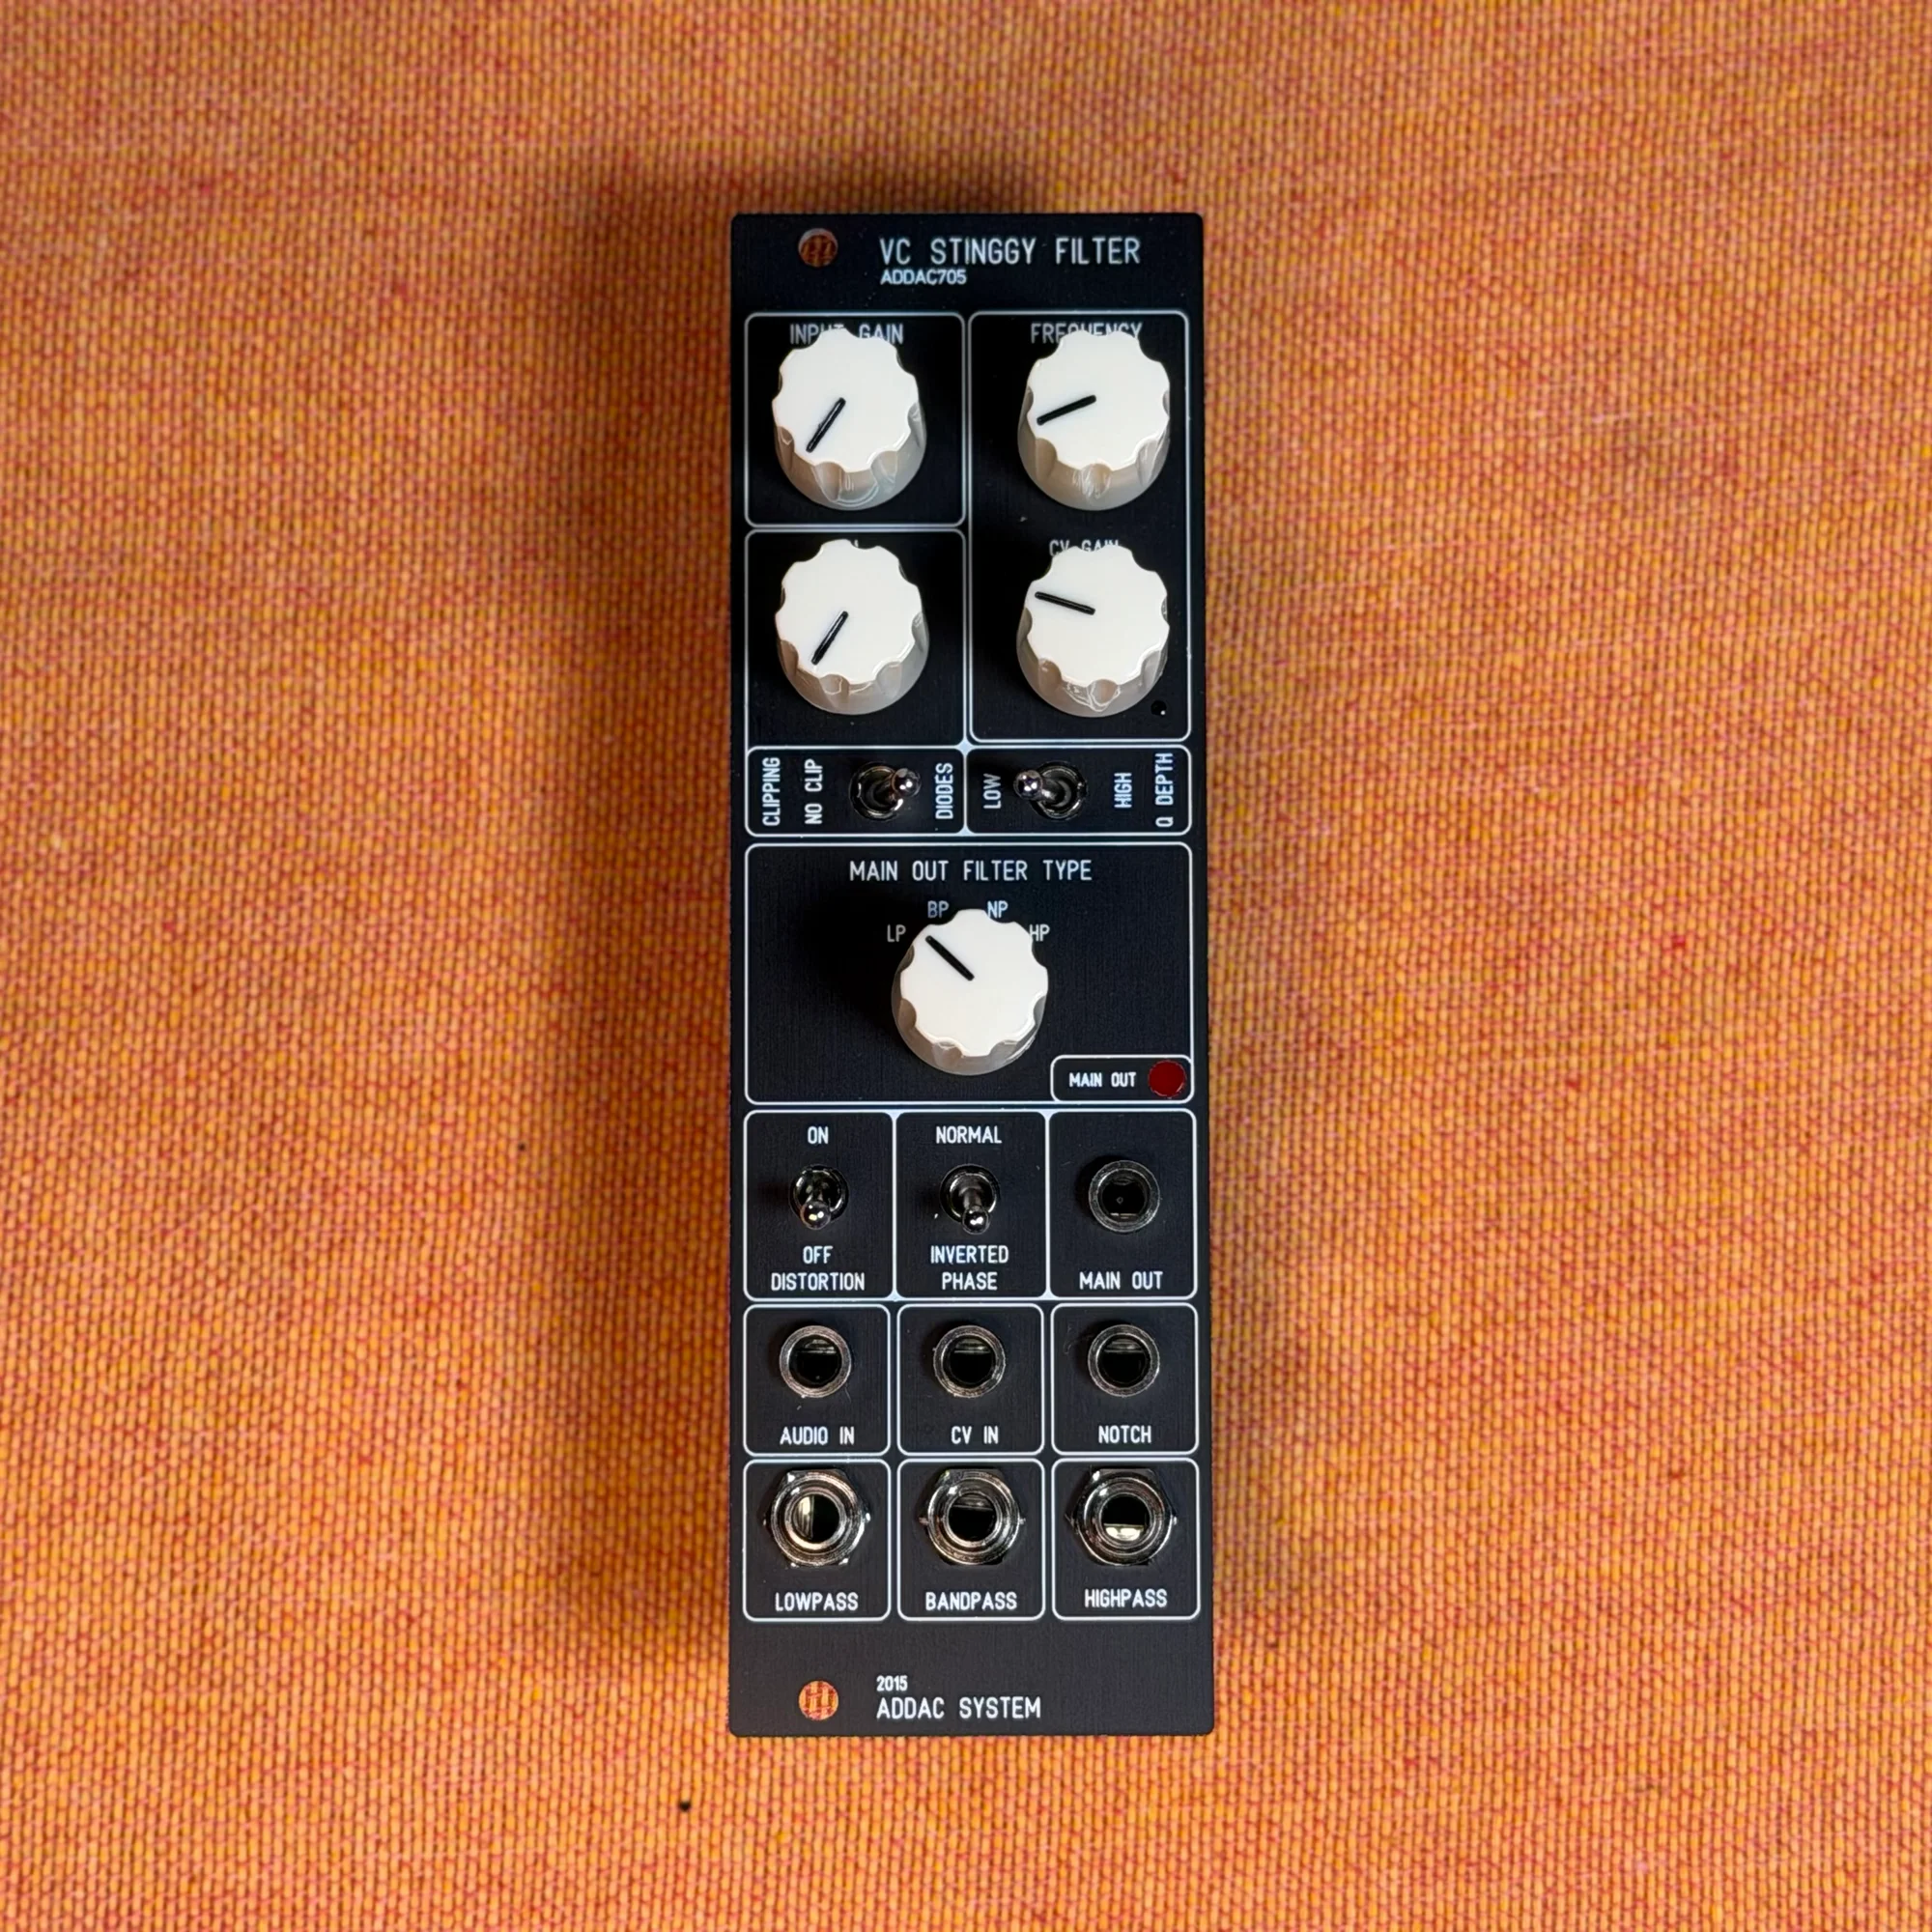
This is EP.2 of our guide series on the ADDAC705 VC Stinggy Filter. In EP.1, we walked through the front-panel controls and the I/O. This time, we'll actually put them to use and, following the demo video, cover the sonic differences between filter types, advanced patches that mix the outputs, and even using self-oscillation to turn the filter into a tone source.
- Basic Setup
- Adding Distortion
- Resonance and the Four Types
- Patch 2: The BP, NP, and HP Filter Types
- Patch 3: Mixing the Outputs
- Patch 4: Using It as an Oscillator
Basic Setup
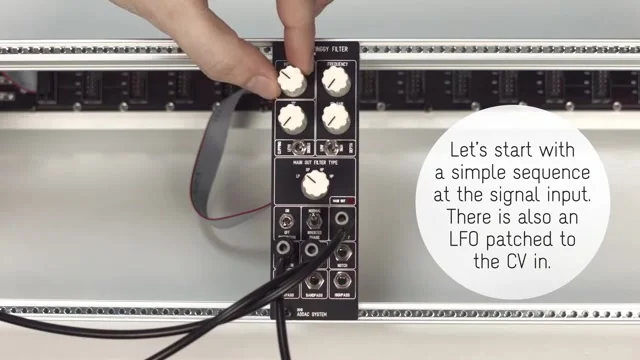
In the demo, they start by feeding a simple sequence into the signal input and patching an LFO into the CV input. That gives you the classic setup where the filter frequency drifts slowly under the LFO.
At this point the filter is set to LP (low-pass) mode. From here, as you raise the Frequency knob, the high end that was being cut opens up and the sound gets brighter.
Adding Distortion
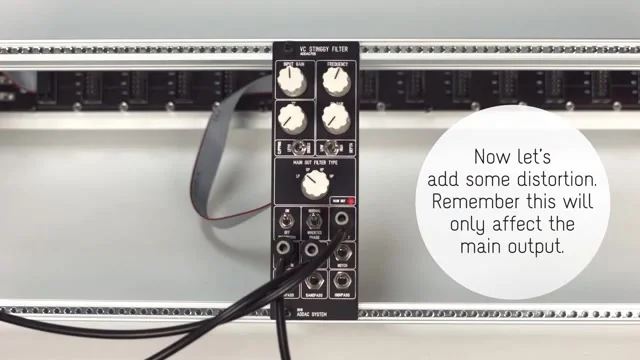
Next, let's turn on the distortion switch introduced in EP.1. The thing to keep in mind here is that distortion only affects the main output.
The Stinggy's distortion isn't the kind of harsh effect that completely crushes the signal — it's a type of distortion that adds harmonics to give the sound thickness and character. It keeps the outline of the original sound intact while fattening it up in a saturation-like way.
Resonance and the Four Types
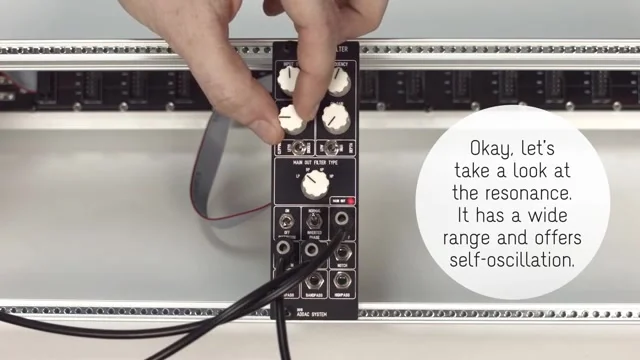
Next up is resonance (Q). The Stinggy's resonance has a very wide range — crank it all the way up and it self-oscillates, with the filter itself starting to produce a tone.
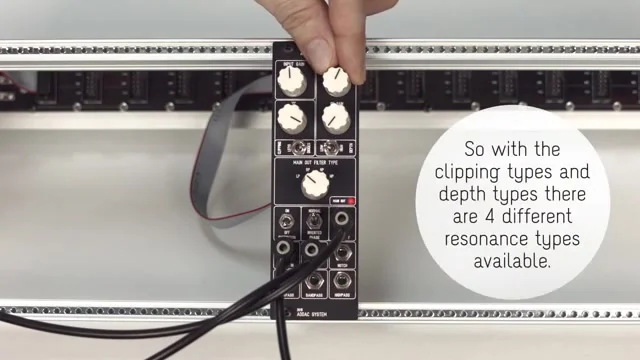
This is where the Clipping and Depth switches touched on in EP.1 come into play. Switching the clipping method (LED / diode) changes how the resonance responds, and setting Depth to "Low" also changes the behavior of the whole filter.
Since Clipping and Depth each have two settings, combining them gives you four resonance types in total. Add distortion on top and the Stinggy's resonance really comes into its own, delivering an aggressive, distinctive sound.
Patch 2: The BP, NP, and HP Filter Types
From here we leave LP behind and listen through the other filter types side by side.
Band-Pass (BP)
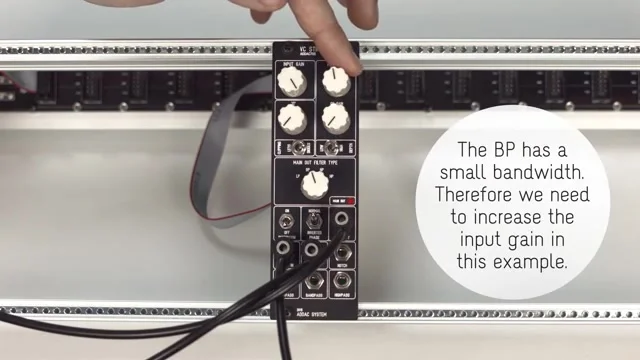
BP (band-pass) passes only a narrow band, so on its own it can feel low in volume. In the demo, they raise the Input Gain to compensate. Change the filter type and, even with the same Q, Clipping, Depth, and distortion settings, you get a completely different sound.
Notch (NP)
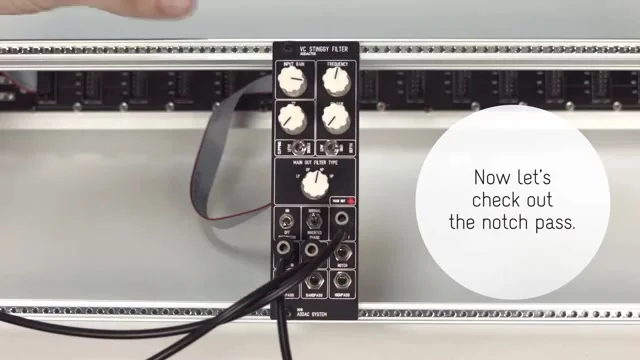
NP (notch) is a special filter type that cuts only a specific band. Because of that, the Stinggy's resonance reacts quite aggressively too. It's a fun mode when you're going for a strongly characterful texture.
High-Pass (HP)
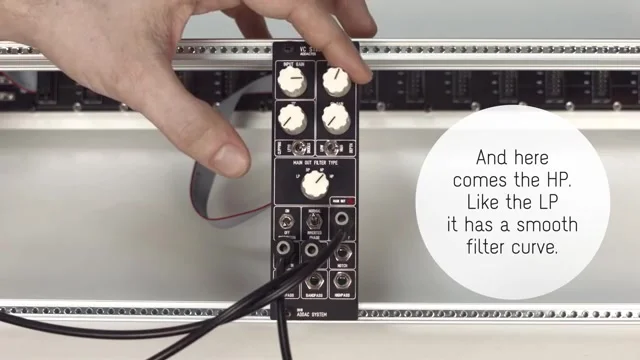
HP (high-pass) has a smooth filter curve just like LP. Its basic job is to cut the low end and clean up the sound, but the demo also shows combining HP with distortion, and it turns out to be a good pairing.
Patch 3: Mixing the Outputs
By making use of the Stinggy's individual outputs, you can create even more involved filter characteristics.
In the demo, they send the main output and the notch output to a mixer and match the two at the same level. With that set up, inverting the phase of the main output causes certain frequencies to cancel out as the two outputs blend, producing a filter curve you can't get from either one alone.
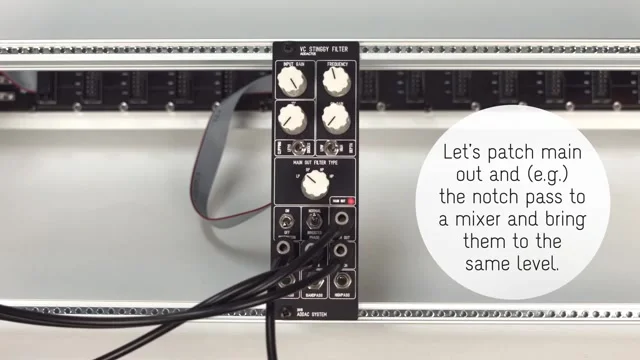
Turn the Frequency knob on top of that and the balance between the two outputs shifts moment by moment, so you always get a different effect. Since distortion exists only in the main-side circuit, the harmonics added to the main output make the mix more complex and interesting. The effect can be subtle, or it can be quite dramatic.
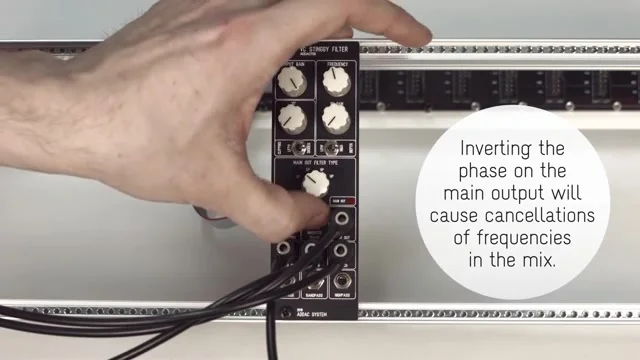
Switch the main output's filter type from LP to another mode and the mix combinations expand endlessly. There's enough freedom here to keep exploring sound design with nothing but the Stinggy.
Patch 4: Using It as an Oscillator
Finally, here's how to use the Stinggy as a tone source. Raise the resonance (Q) to make it self-oscillate and patch a pitch CV into the CV input, and the filter works as an oscillator on its own.
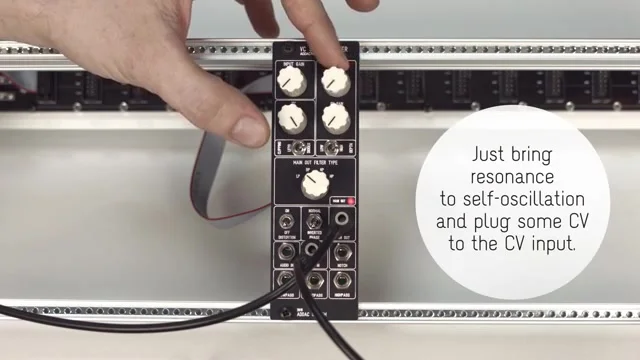
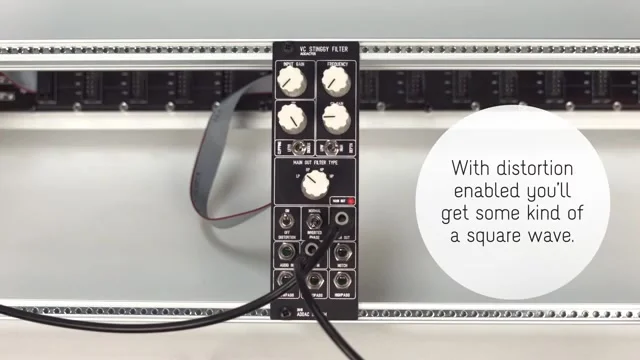
While self-oscillating, the tone differs slightly in each filter mode. Turn on distortion as well and the waveform shifts toward a square-wave-like character. The demo even shows off a glitchy drum beat built from this tone source, making it clear that the Stinggy is an instrument that goes well beyond being just a filter.
That's it for EP.2. The ADDAC705 VC Stinggy Filter turned out to be a module that produces a surprisingly wide range of tones from just a few moves — LP/BP/NP/HP filter types, four resonance types, distortion on the main output, and everything from mixing the individual outputs to turning it into a tone source through self-oscillation. For all that it's a filter, it has the depth to sit at the center of your sound-making.
By the way, the demo video referenced in this article is the official video from ADDAC System. Be sure to check out the video to hear the actual changes in sound.
ADDAC705 Product Details
You can find the product details for the ADDAC705 VC Stinggy Filter below.