In this series, I'll be covering the OXI Coral in detail.
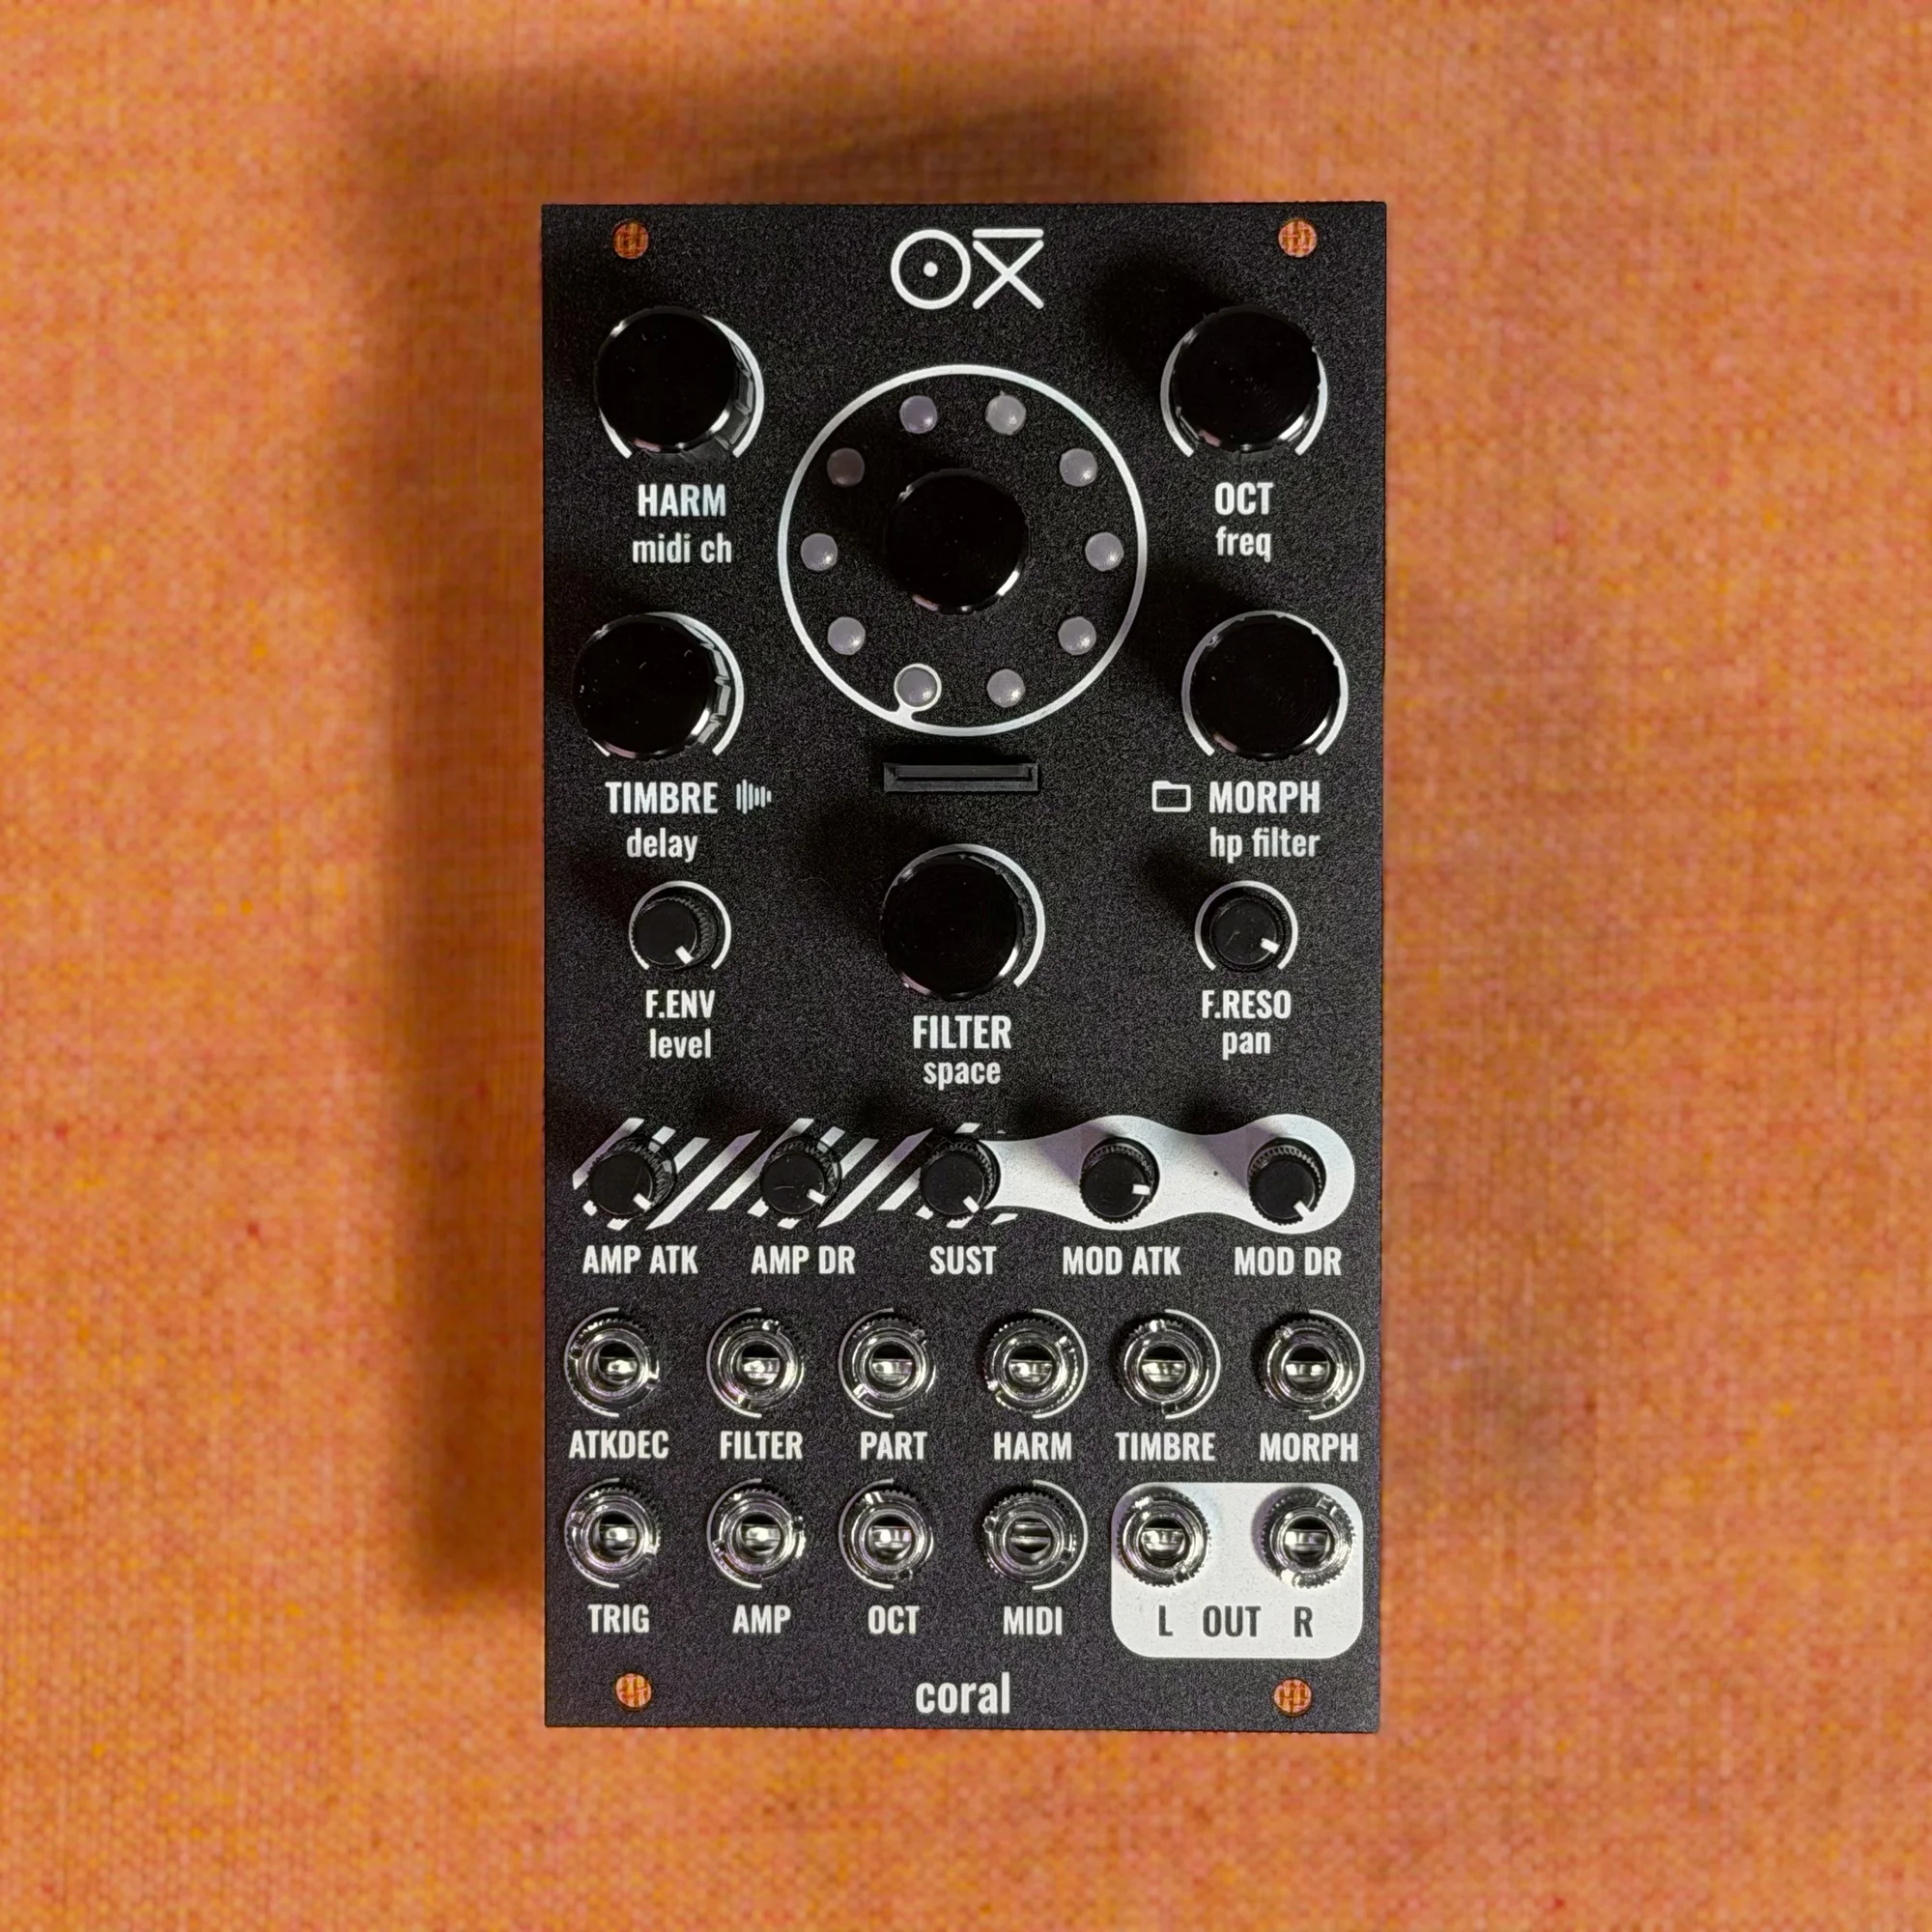
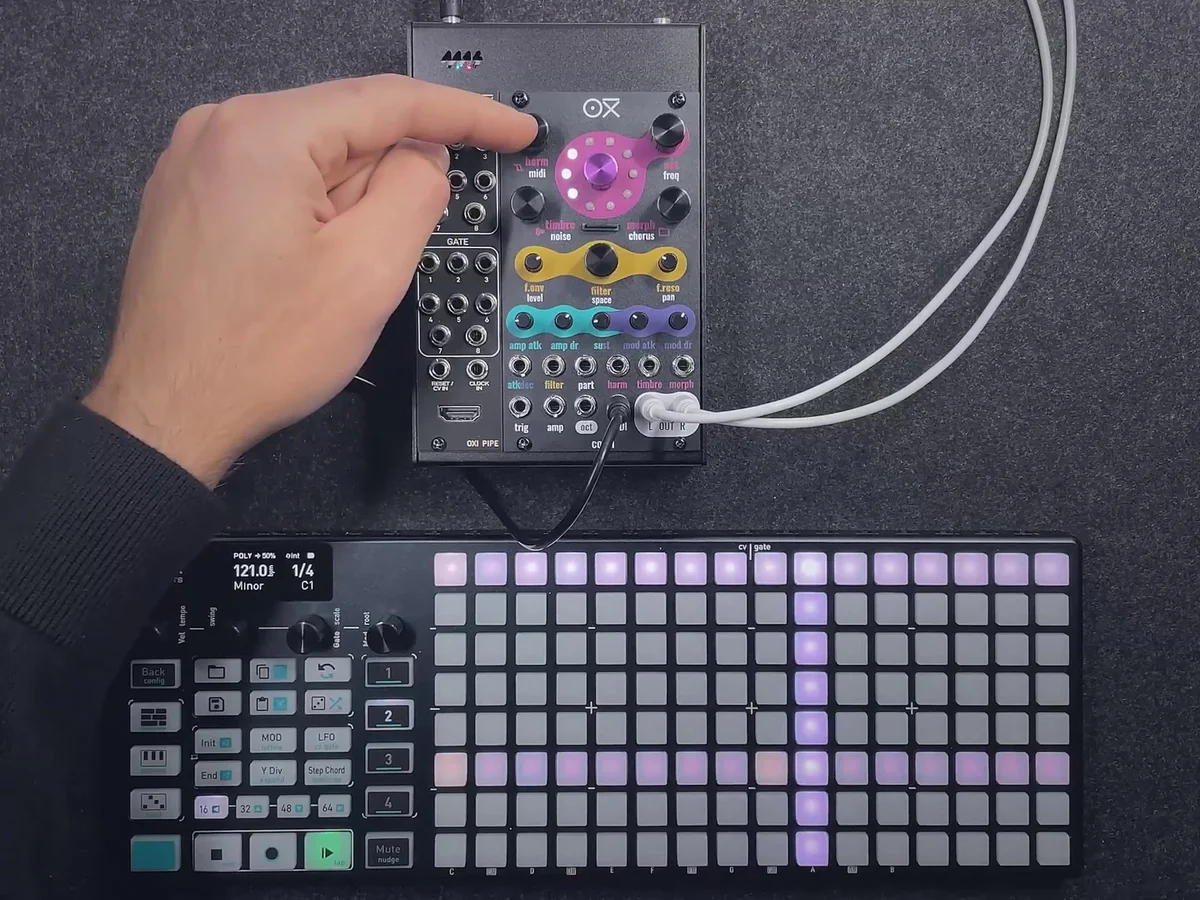
We carry the OXI Coral here at Takazudo Modular. It's an 8-voice, multitimbral polyphonic synthesizer module developed by OXI Instruments. Packed into a compact 14HP panel, it offers 10 synth engines, independent filter and envelope sections, FX (Chorus and Space Reverb), MIDI input, and 8 CV inputs — a seriously capable module.
OXI has released an official tutorial video series called "OXI CORAL Tutorial." In this series, I'll be following along with those videos and explaining things in detail.
Takazudo Modular publishes manuals and related documents with Japanese translations. See the links below.
- What Is the OXI Coral?
- The Center Encoder
- Primary Controls
- Secondary Controls
- Changing the MIDI Channel
- Parameter Catch-up
- Tips
What Is the OXI Coral?
The OXI Coral is a polyphonic synthesizer module capable of playing up to 8 voices simultaneously. A single module holds 8 independent synth voices, each of which can be assigned a different engine or MIDI channel.
As a basic use case, you can operate all 8 voices as an "8-voice poly synth" assigned to MIDI channel 1. This is exactly the initial state right after you power it on. Just send notes on channel 1 from a MIDI sequencer or keyboard, and you'll hear sound right away.
By default, the LED ring in the center of the panel visually displays the amp (VCA) level of each active voice. Play a chord, and multiple LEDs light up, letting you see at a glance which voices are in use.
The Center Encoder
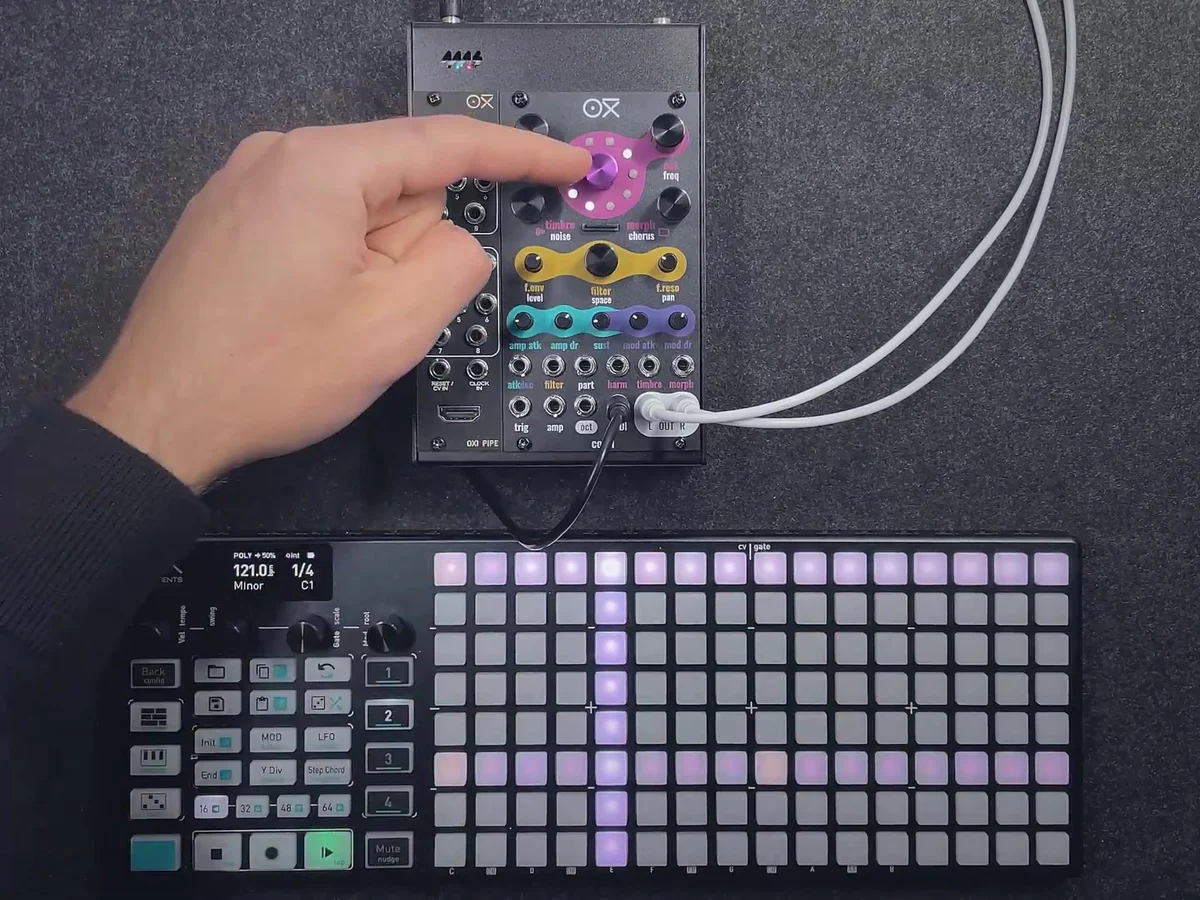
The push encoder (rotary encoder plus button) at the center of the panel is the heart of the OXI Coral's operation.
Selecting Engines
Turning the encoder changes the synth engine for the currently selected voice (or part). The OXI Coral has 10 engines, and each turn of the encoder cycles through them in order.
The currently selected engine is shown by the pink LED on the LED ring. When you switch engines, the voice's tone changes immediately.
Other Encoder Functions
Pressing and turning the encoder switches to the voice or part selection screen. In the default state (all voices on the same MIDI channel), you can select individual voices to work with.
A tap (short press) on the encoder cycles through these views:
Main view: The default amp display
Load / Save screen: For loading and saving presets
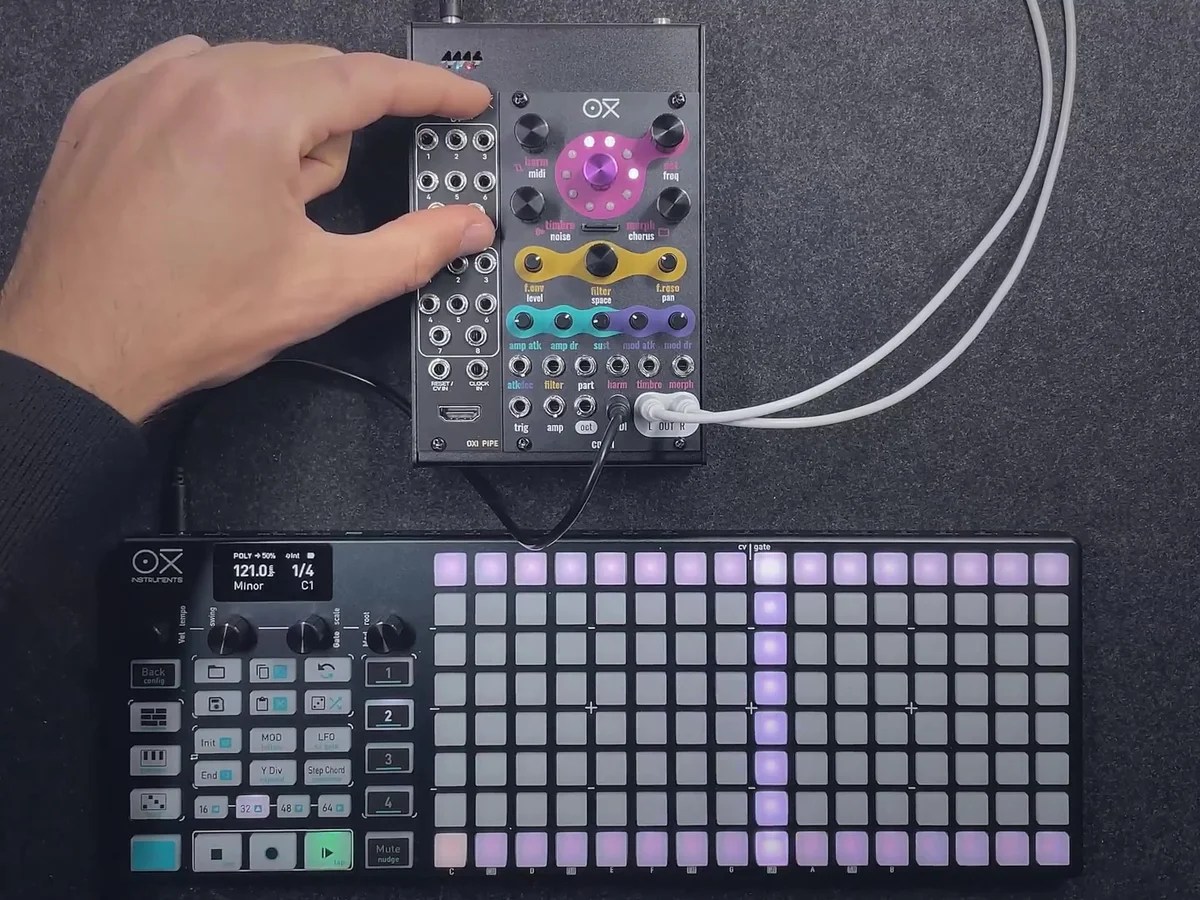
CV Assign screen: For configuring CV input assignments
Also, pressing the encoder while turning a knob gives you access to each knob's secondary parameter. I'll cover this in more detail in the Secondary Controls section below.
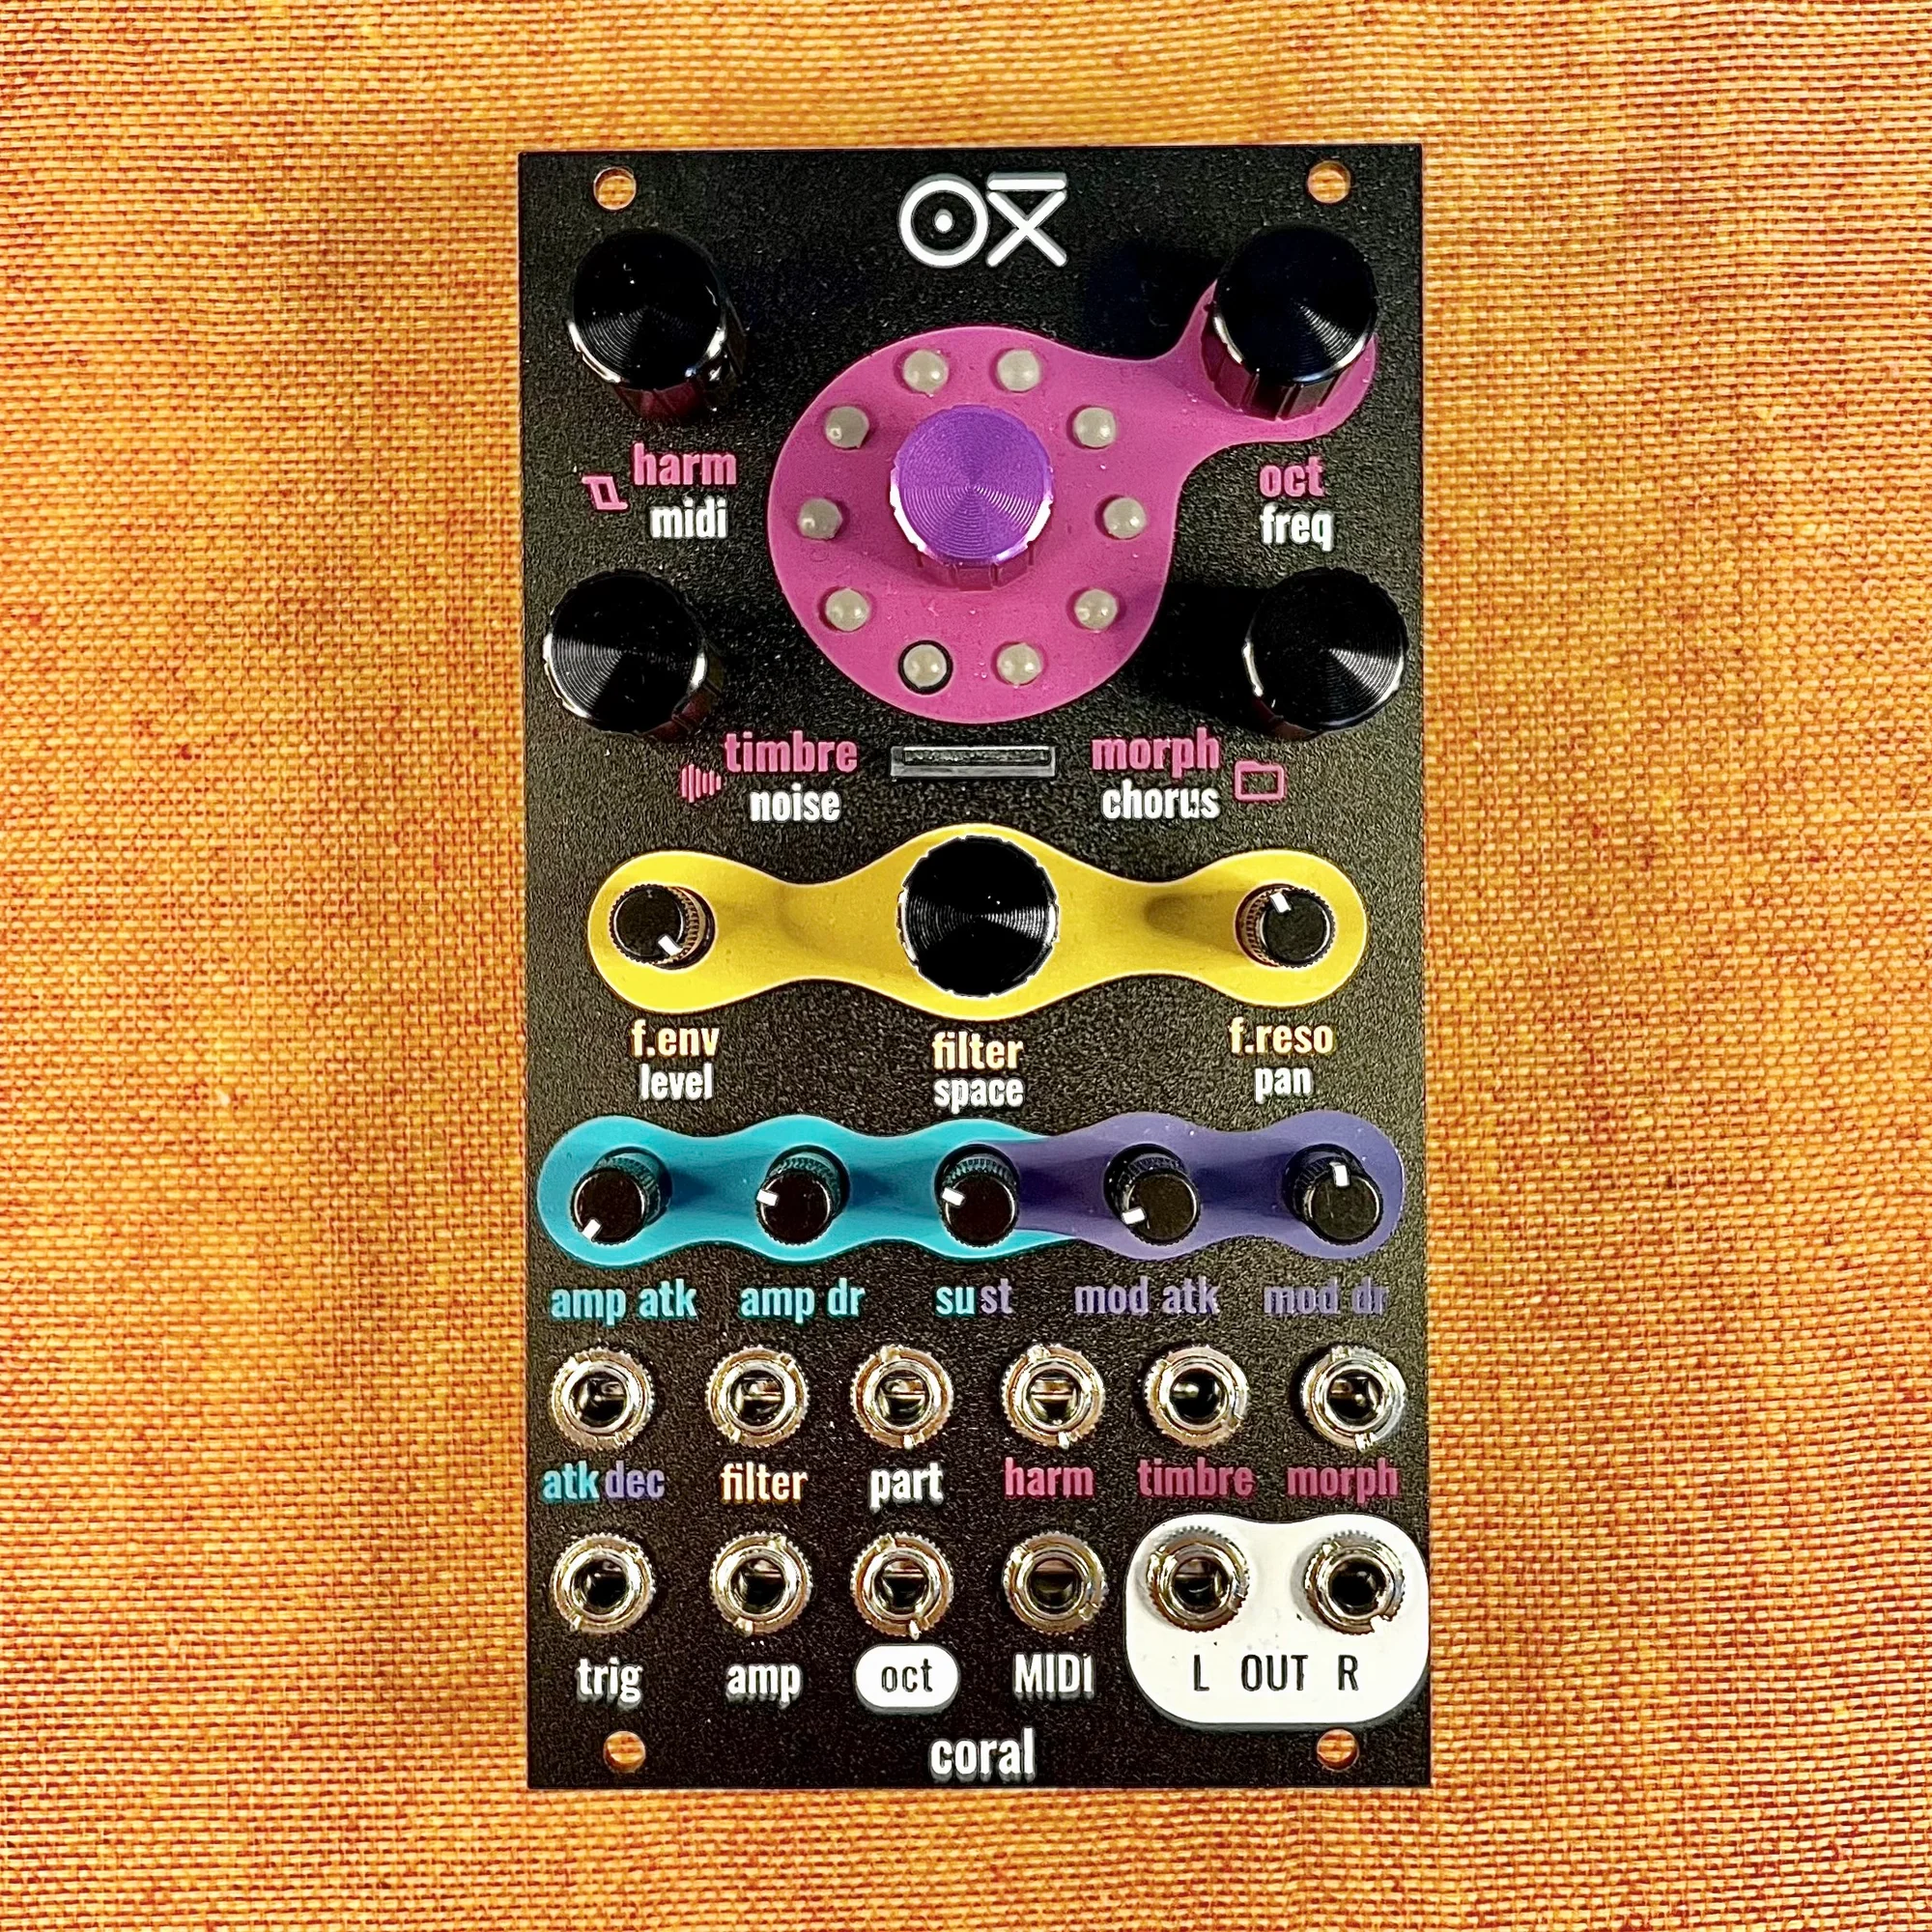
Primary Controls
Each knob on the panel has a main (primary) parameter assigned to it. These are the basic controls you operate just by turning the knobs.
Engine Parameters (Harm / Oct / Timbre / Morph)
The four knobs at the top of the panel are the sound parameters for the currently selected engine.
Harm: The 1st parameter of the selected engine. Its role varies by engine (e.g., harmonics amount on the Virtual Analog engine)
Oct (Base Octave): The base octave of the sound. Acts as an offset to the incoming MIDI notes or CV Pitch
Timbre: The 2nd parameter of the selected engine
Morph: The 3rd parameter of the selected engine
Filter (F.env / F.reso)
F.env (Filter Envelope): The amount the modulation ADSR envelope affects the filter cutoff frequency. At 12 o'clock it's 0%, turning right goes to +100% (opens the filter), turning left goes to -100% (closes the filter)
F.reso (Filter Resonance): Controls the filter's resonance amount and drive amount
The modulation ADSR envelope is linked to the filter cutoff by default. Depending on the engine, it can also affect the sound itself.
Envelopes (Amp Atk / Amp DR / Sust / Mod Atk / Mod DR)
Five knobs control the amp envelope and the modulation envelope.
Amp Atk (Amplifier Attack): Attack time of the amp ADSR envelope
Amp DR (Amplifier Decay/Release): Decay and Release times of the amp ADSR envelope (combined on one knob)
Sust (Sustain): Simultaneously controls the sustain level of both the amp and modulation envelopes
Mod Atk (Modulation Attack): Attack time of the modulation ADSR envelope
Mod DR (Modulation Decay/Release): Decay and Release times of the modulation ADSR envelope
Note that Sustain is a shared control for both envelopes.
Secondary Controls
Each knob also has a secondary parameter assigned to it. You access it by pressing the encoder while turning the knob.
Here are the secondary parameters for each knob:
Secondary of the engine knobs:
Harm → MIDI: Sets the MIDI channel for the target voice
Oct → Freq (Base Frequency): Fine-tunes the base frequency. No detune at 12 o'clock; +100% to the right, -100% to the left
Timbre → Noise: Level of the internal white noise source. Operates independently of the voice level, so it can be used as an independent noise source
Morph → Send (Delay): Send amount to the delay effect (when delay is enabled in the settings)
Secondary of the filter knobs:
F.env → Chorus: Send amount to the Chorus FX engine
F.reso → Level: Maximum amplitude level. Sets the upper limit of the voice's output volume
Secondary of the envelope knobs:
Amp Atk → Space: Send amount to the Space Reverb FX
Amp DR → Pan: Stereo pan setting (constant power pan law)
Sust → CV Attenuator (Harm CV): Sets the bipolar attenuator amount for the Harm CV input
Mod Atk → CV Attenuator (Timbre CV): Sets the bipolar attenuator amount for the Timbre CV input
Mod DR → CV Attenuator (Morph CV): Sets the bipolar attenuator amount for the Morph CV input
As a secondary function, the five envelope knobs act as bipolar attenuators for the corresponding CV input directly below each knob (Amp Atk → atkdec CV, Amp DR → filter CV, Sust → harm CV, Mod Atk → timbre CV, Mod DR → morph CV).
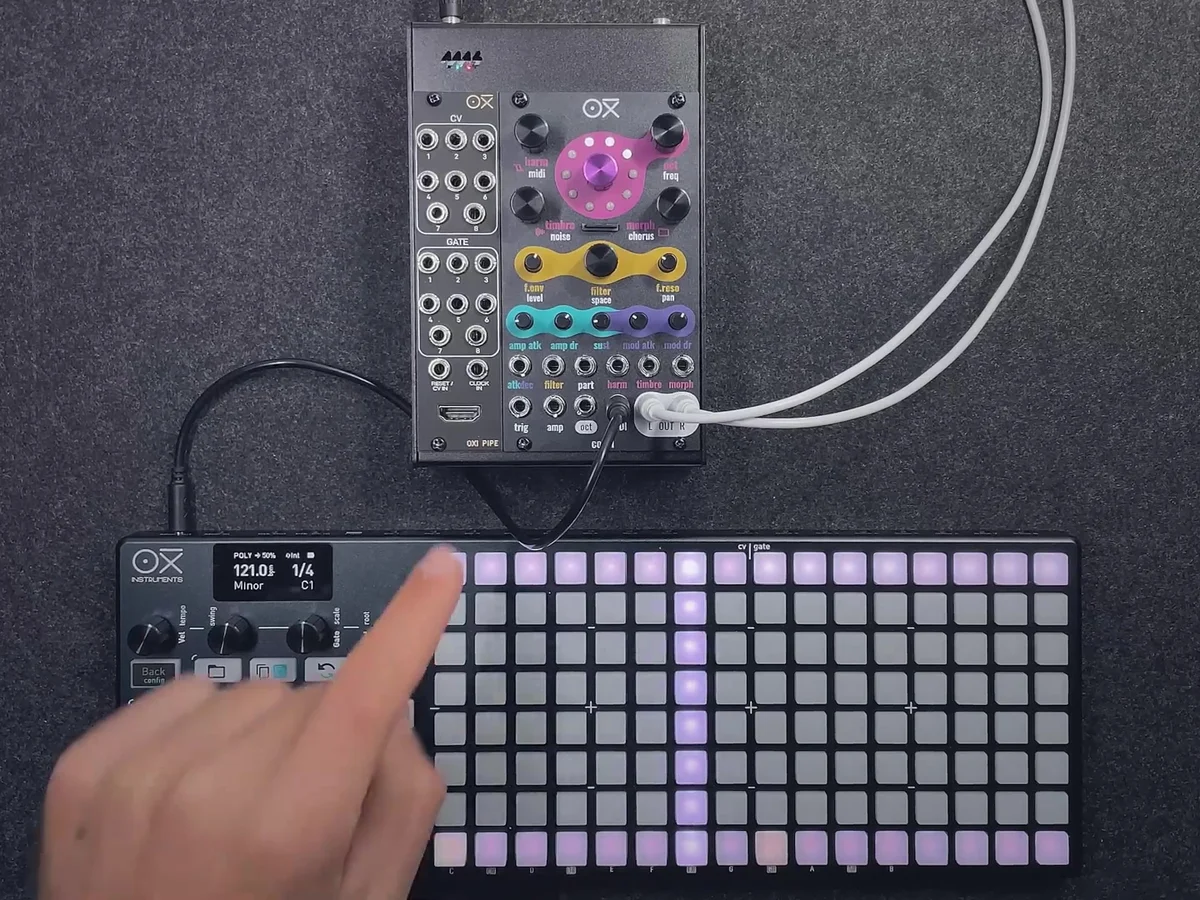
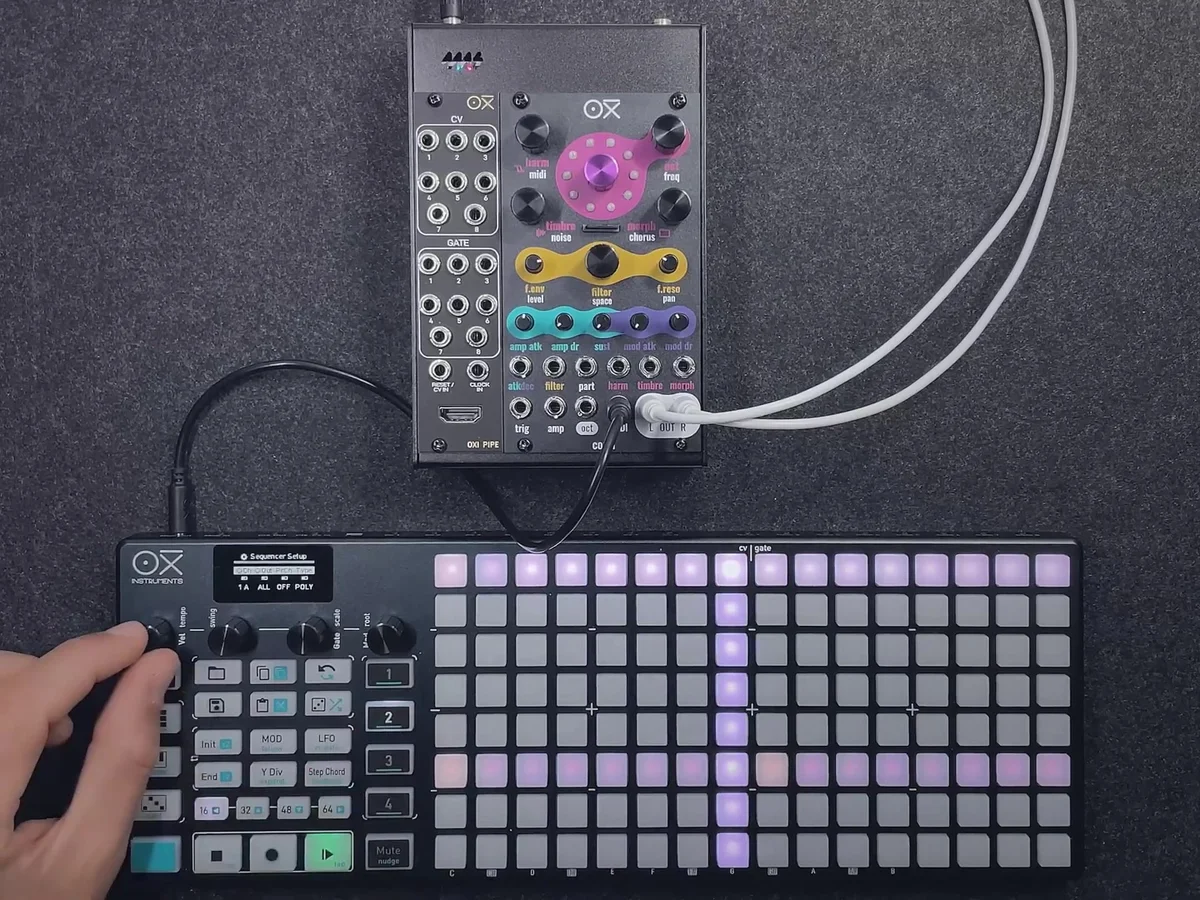
The trigger input on the front panel triggers both the amp and modulation envelopes for all voices in the currently selected part. Combined with a CV pitch signal, this lets you control the Coral directly from a modular synth patch.
Changing the MIDI Channel
The MIDI channel used by an OXI Coral voice is changed via the secondary parameter on the Harm knob (MIDI).
By assigning a specific voice to a different MIDI channel, you can create multiple "parts" within the same module. For example, if you assign voice 1 to channel 2, you can control voice 1 from channel 2 independently of the chord playing on channel 1. I'll cover the detailed mechanics of parts in later episodes.
Parameter Catch-up
The OXI Coral's knobs have two parameters each — primary and secondary. Because of this, there are cases where the physical position of the knob and the actual value of the parameter don't match.
If you moved a knob while the values were out of sync, it would cause an abrupt jump in the parameter. To prevent this, the OXI Coral uses a "catch-up" scheme. Even if you turn the knob, the parameter doesn't start changing until the knob position "catches up" to the stored value.
For primary parameters, an LED shows the current stored value's position in the color of that parameter section, while the knob's current position is shown in white. For secondary parameters, the stored value is shown in white and the knob's current position is shown in orange.
As a concrete example, imagine Timbre (primary) is set to its maximum value, and Noise (the secondary on the Timbre knob) is set to its minimum. In this state, even if you turn the knob trying to adjust Noise, Noise won't change until the knob position catches up to the stored value for Noise (the minimum).
Similarly, if you want to raise the reverb (Space) send amount, you'll need to wait until the filter cutoff knob's position catches up to the stored value for Space. Once catch-up is complete, you can operate the parameter normally from there on.
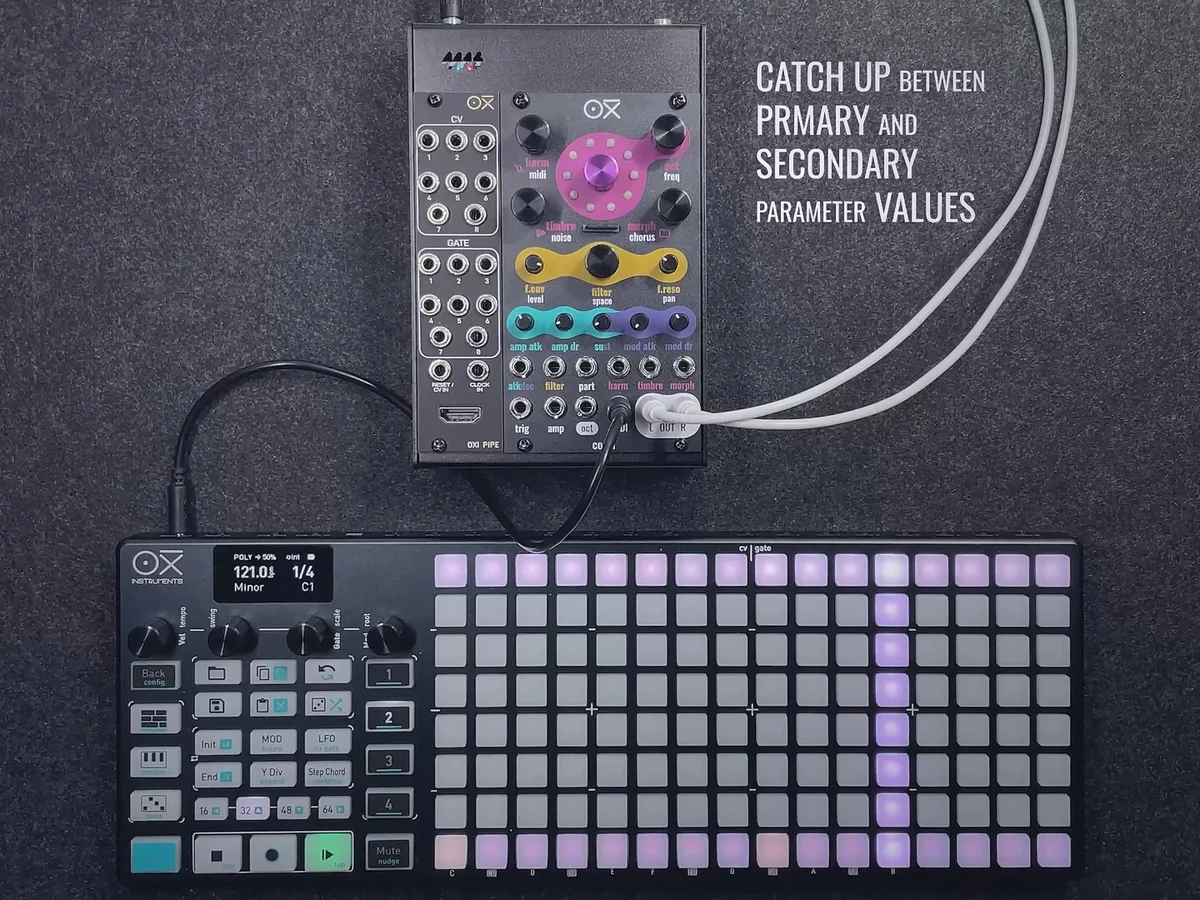
This catch-up scheme also applies at power-on. Right after booting the module, the previously saved parameter values and the physical knob positions may not match, so you might find that parameters don't move at first until each knob has caught up.
Tips
Start with a single part: The multi-part feature is powerful, but it's smoothest to start with all 8 voices on channel 1. Get comfortable with the basics first, then try splitting into parts
Use the LED ring to track voices: In the main view, each position on the LED ring corresponds to voices 1–8 and displays their amp levels. While playing a chord, you can visually confirm how many voices are in use
Make use of catch-up: To switch quickly between primary and secondary, it helps to get comfortable with one side first before reaching for the other — less confusing that way
That's it for EP.1. This time, I covered the OXI Coral's panel controls as a whole, plus the basics of using MIDI. From EP.2 onward, I'll dig into how to set up multi-part configurations and the detailed usage of each synth engine.
My personal take on the Coral: I'd recommend using it as a single part to start with. In a modular setup, just getting two or more notes to play simultaneously is often a fair amount of hassle, so having a module that can handle chords so easily is quite valuable in its own right.
And while the Coral is very capable, its interface has a limited number of knobs and jacks, so I hope you'll use this guide as a companion to help you understand its operation. Figuring this stuff out just from the manual is pretty tough… If you didn't know about the catch-up feature, I think you'll have that "oh, that's how it works — handy!" moment once you try it.
OXI Coral Product Details
You can find the product details for the OXI Coral below.
8-voice multitimbral polysynth module in 14HP. Combines synth, sampler, and drum functions with a low-pass filter, chorus and reverb effects, custom wavetables, and multiple firmware options.
8-voice multitimbral polysynth module in 14HP. Combines synth, sampler, and drum functions with a low-pass filter, chorus and reverb effects, custom wavetables, and multiple firmware options. Black edition.